
| Art Classes ...
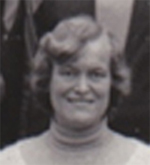
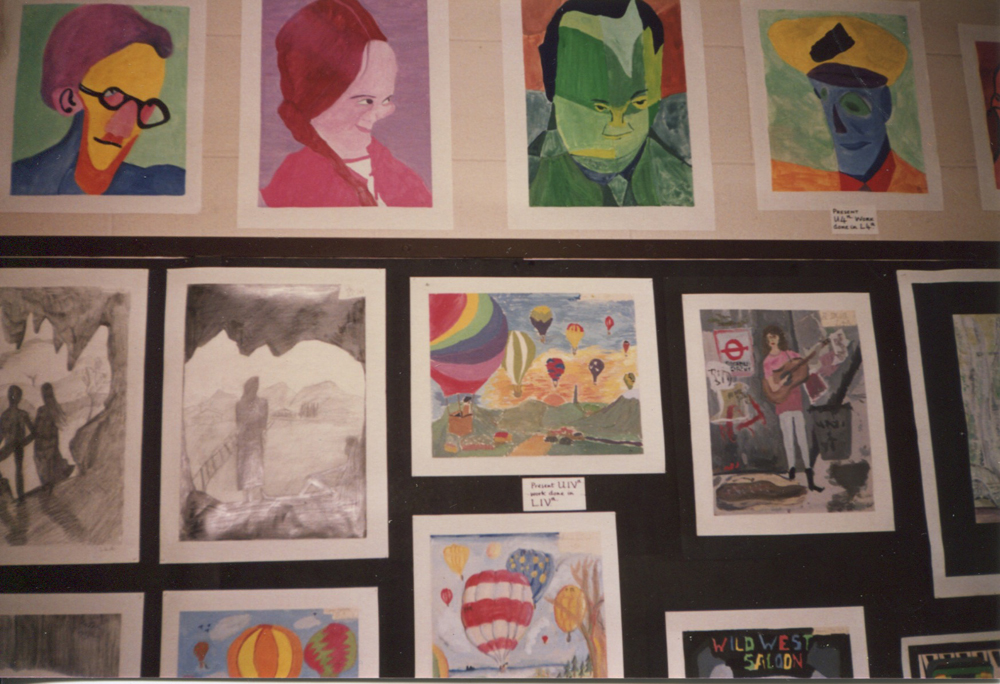
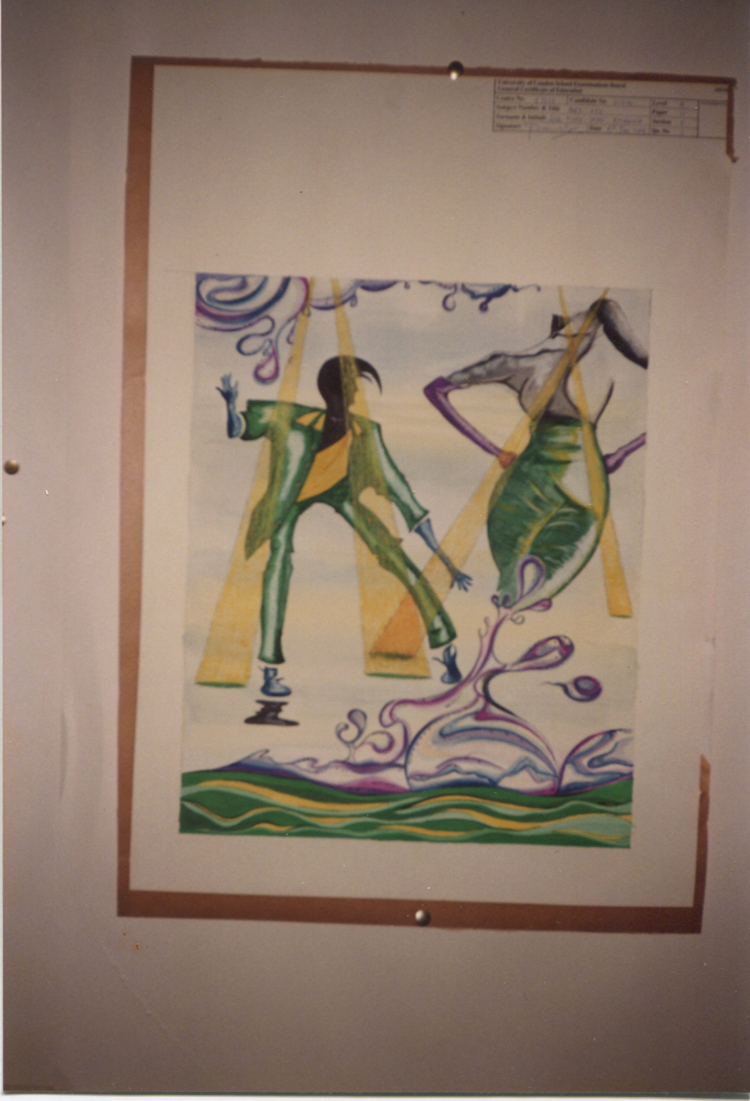
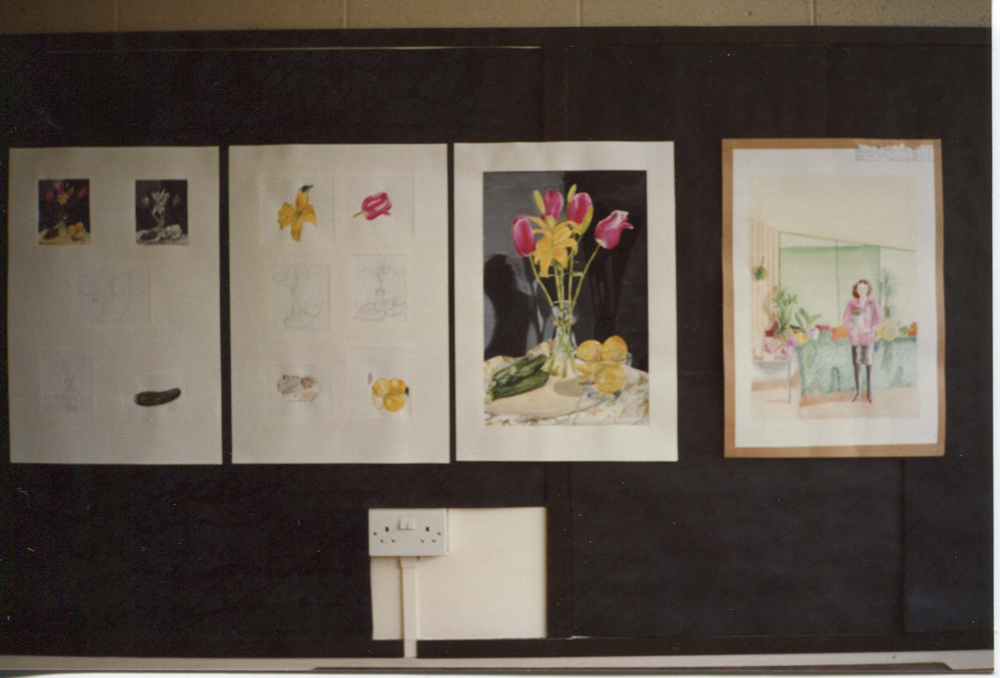
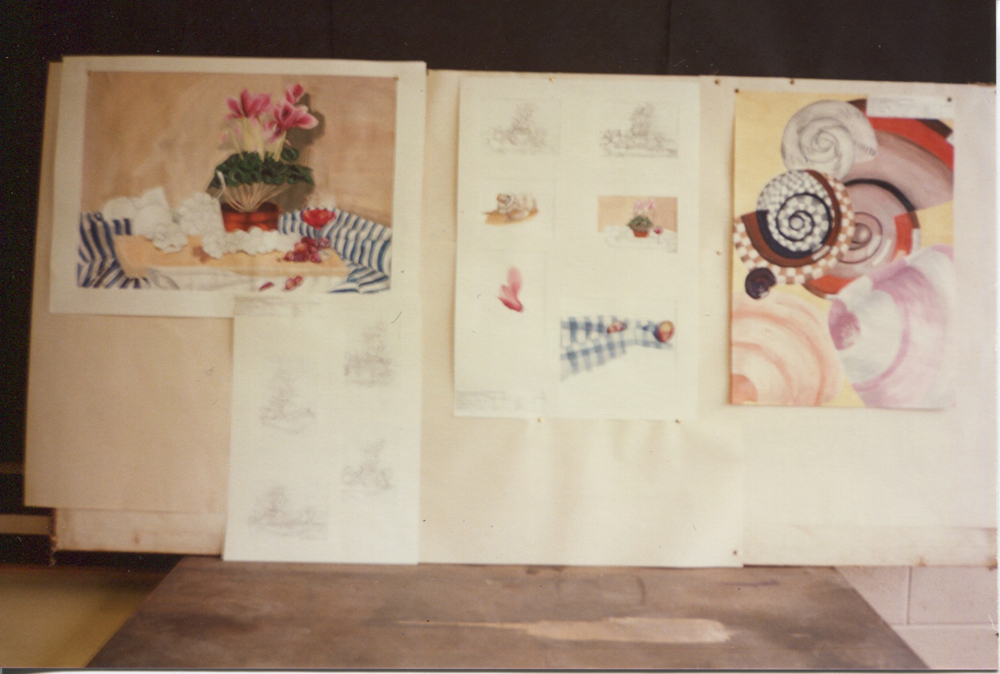
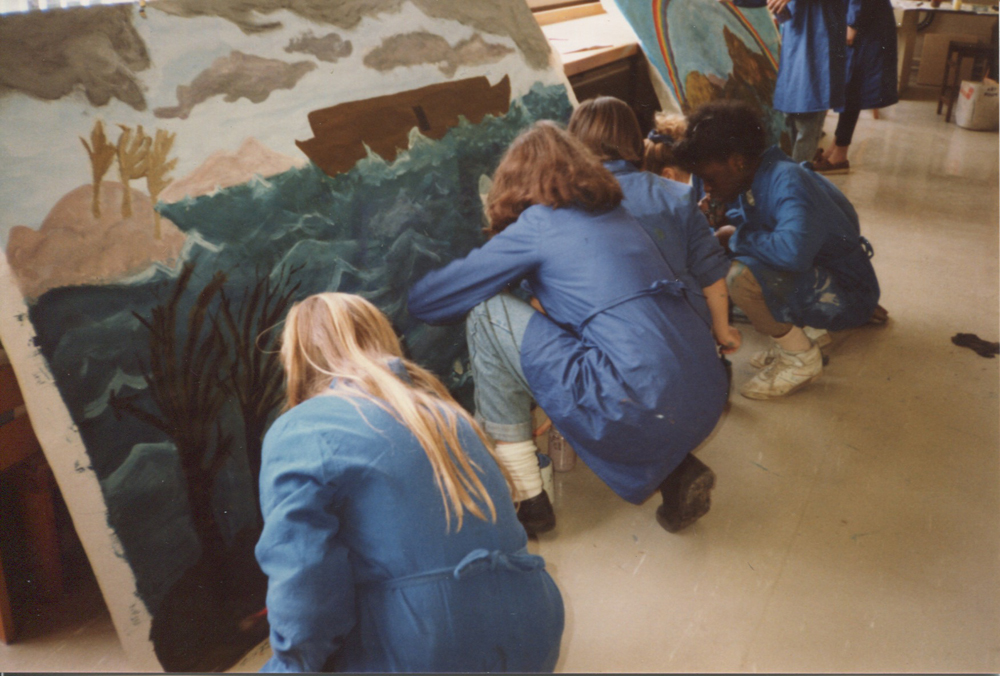
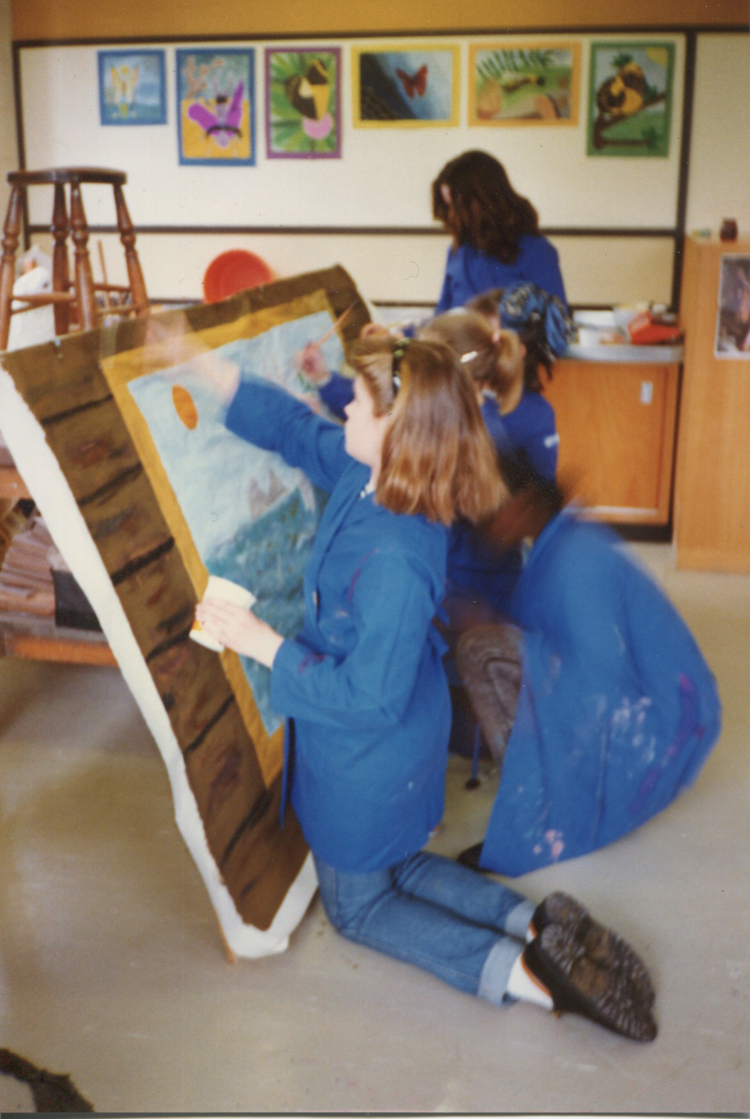
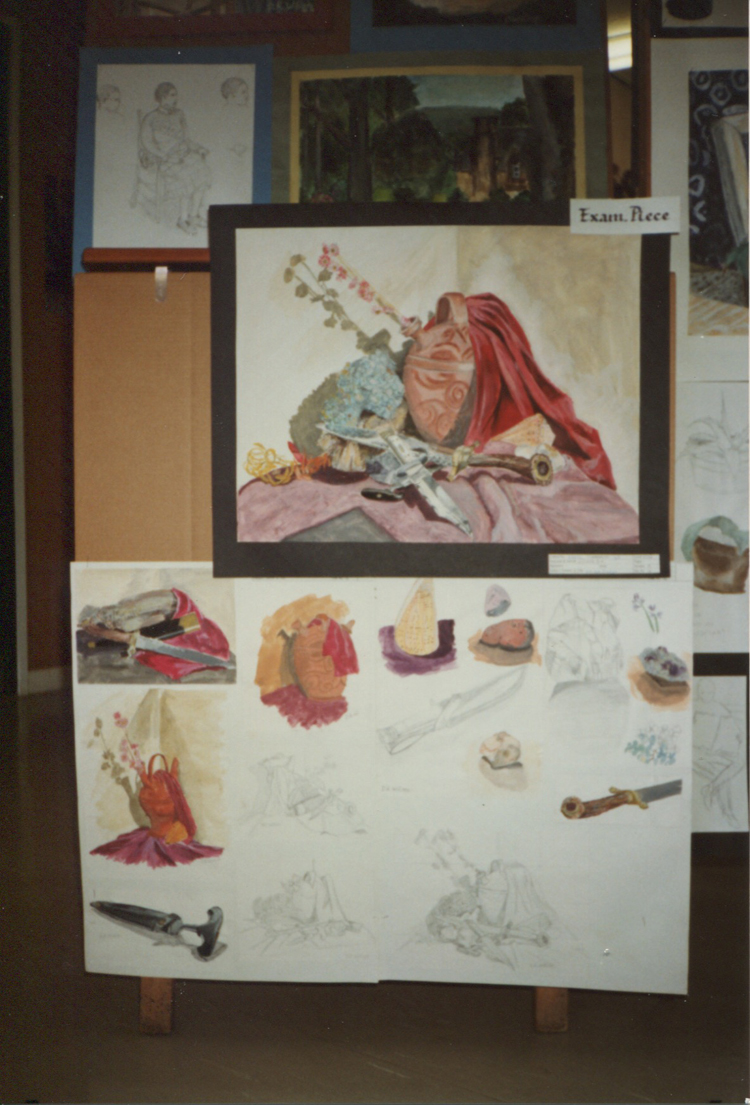
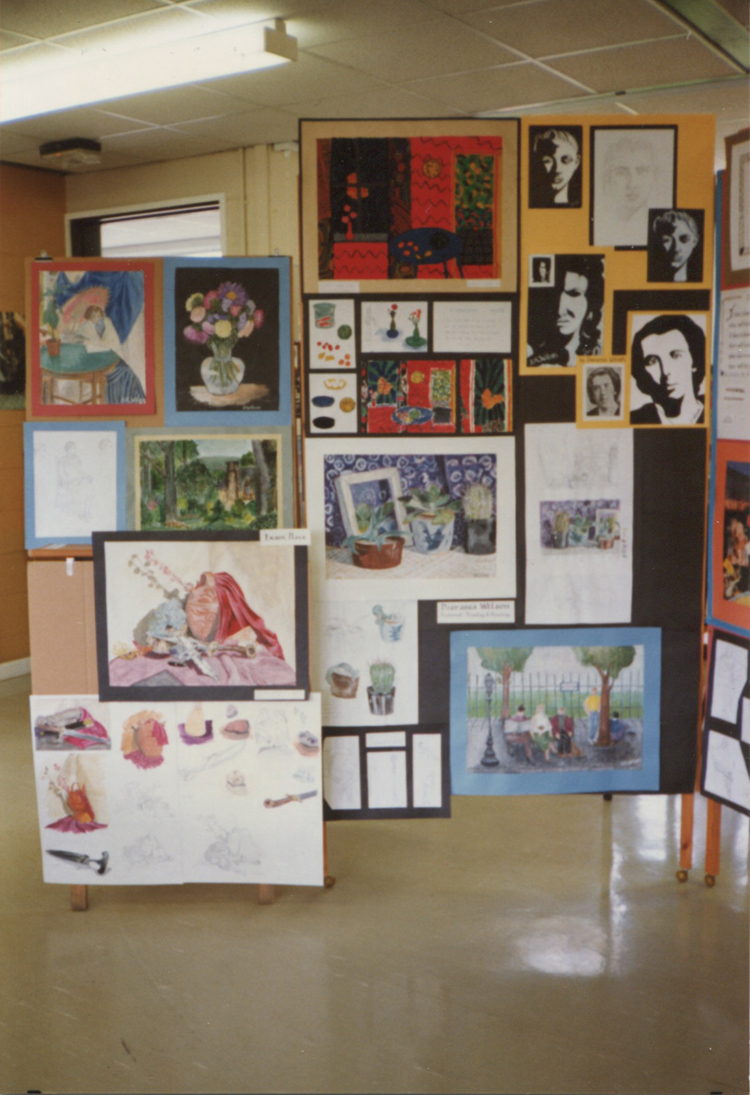
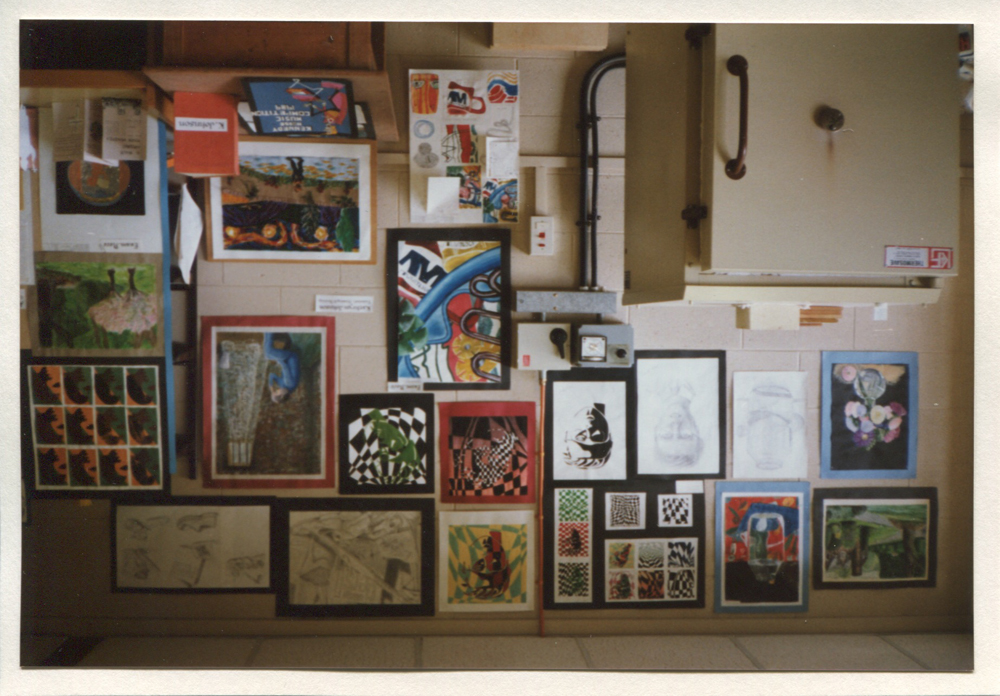
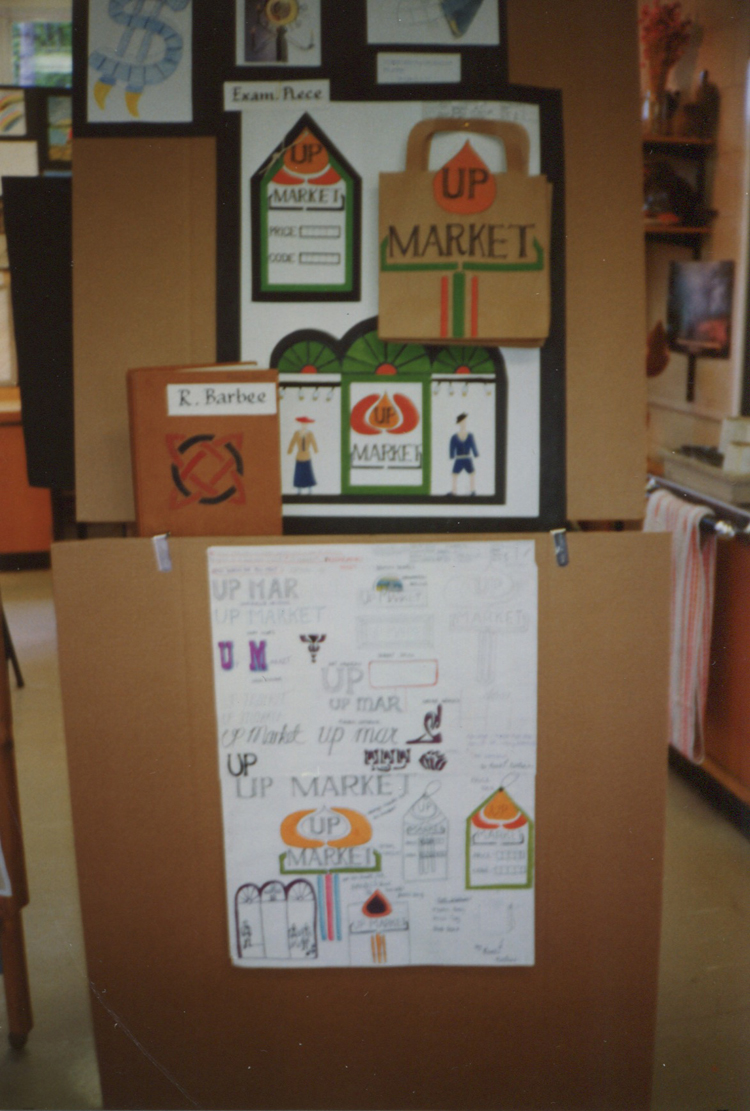
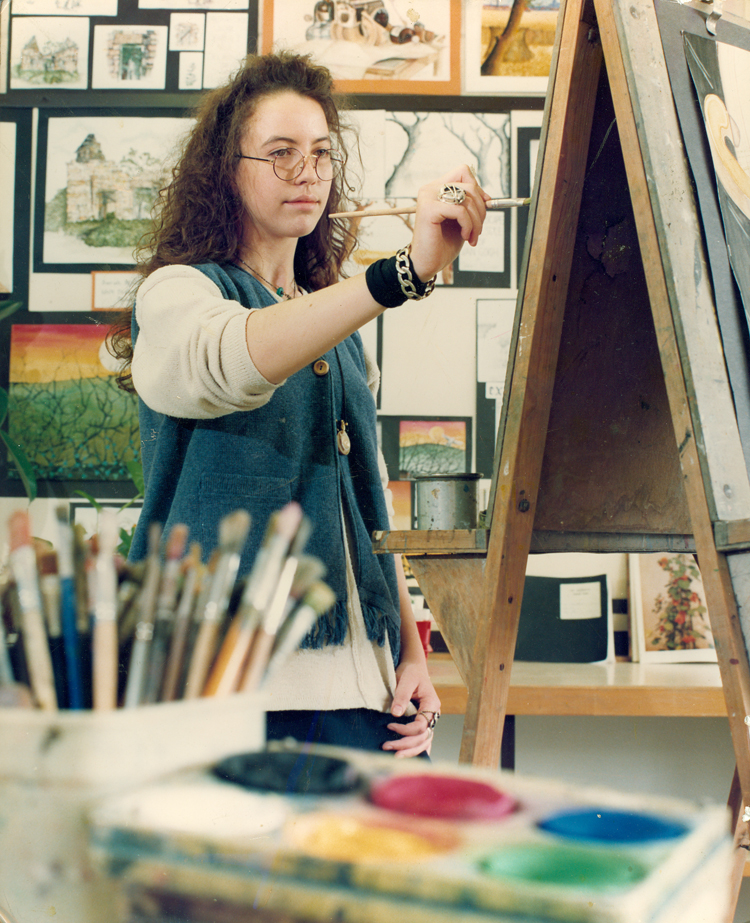
Many of us will have known or had Miss Cawood as our art teacher as she was at St Elphin's School from 1971 to 1999. I hope you enjoy flippping through the photographs and, who knows, you may even recognise some of your artwork! The following photo was taken as part of numerous display boards which were produced for open days at St Elphin's School - circa 1990s. The art room was on the top floor of the maths block. If anyone can confirm the year in which this was taken or the photographer, please let Liz Donlan know. The artist in the photo is Bethan Lewis.
|
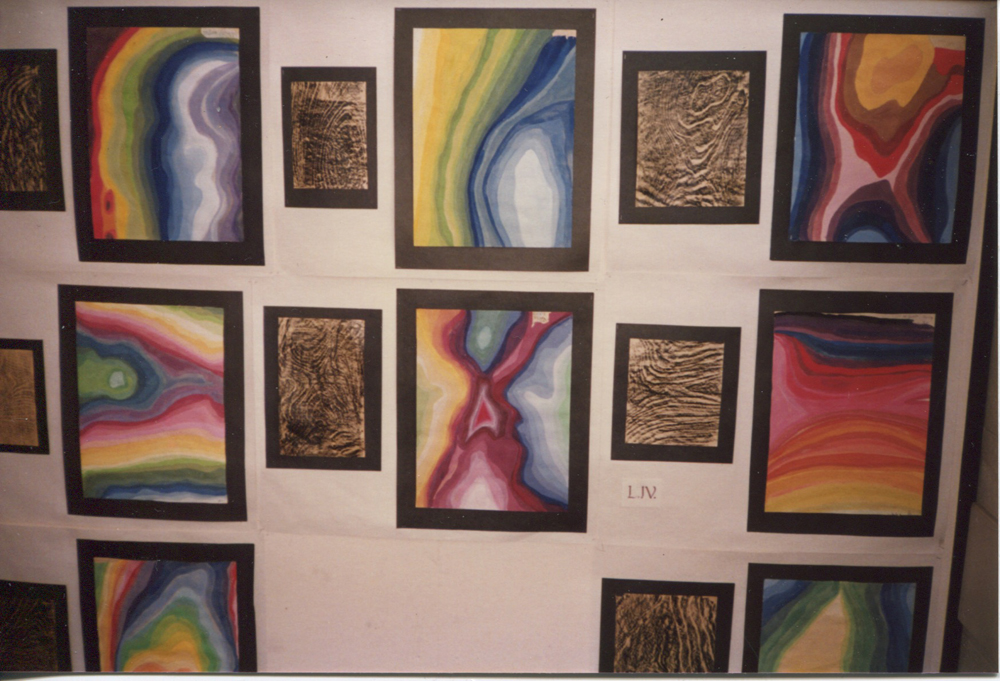
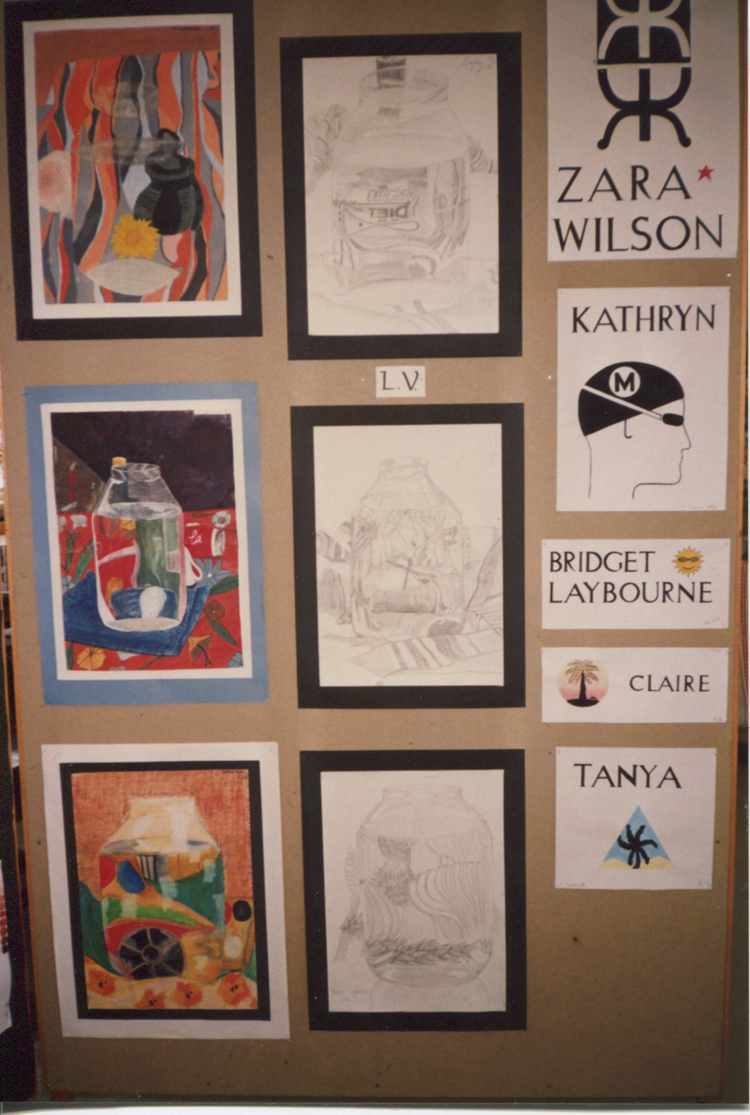
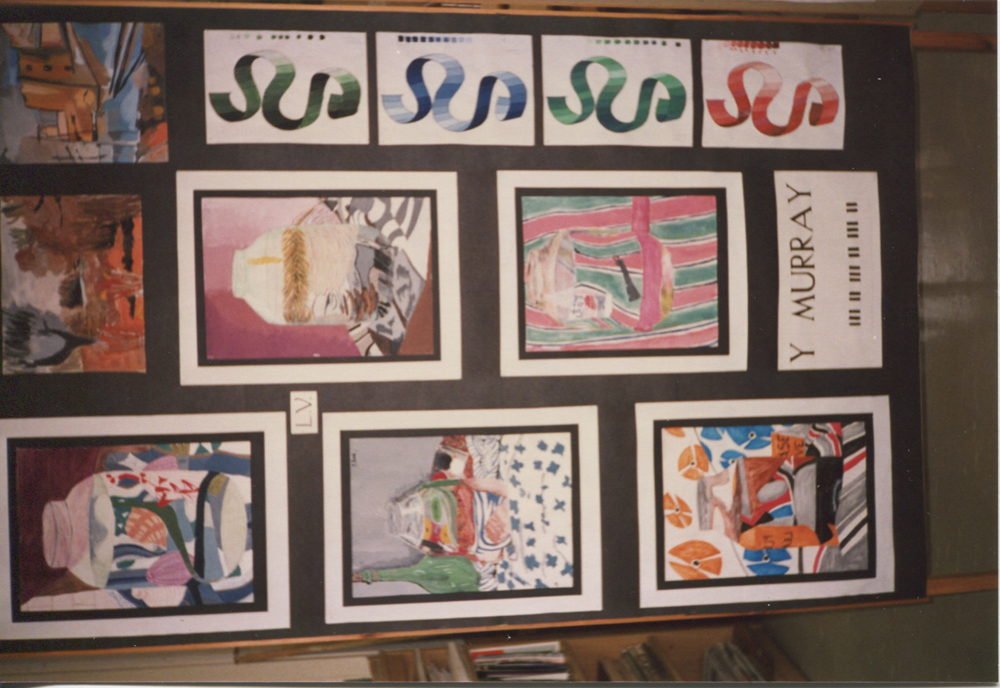
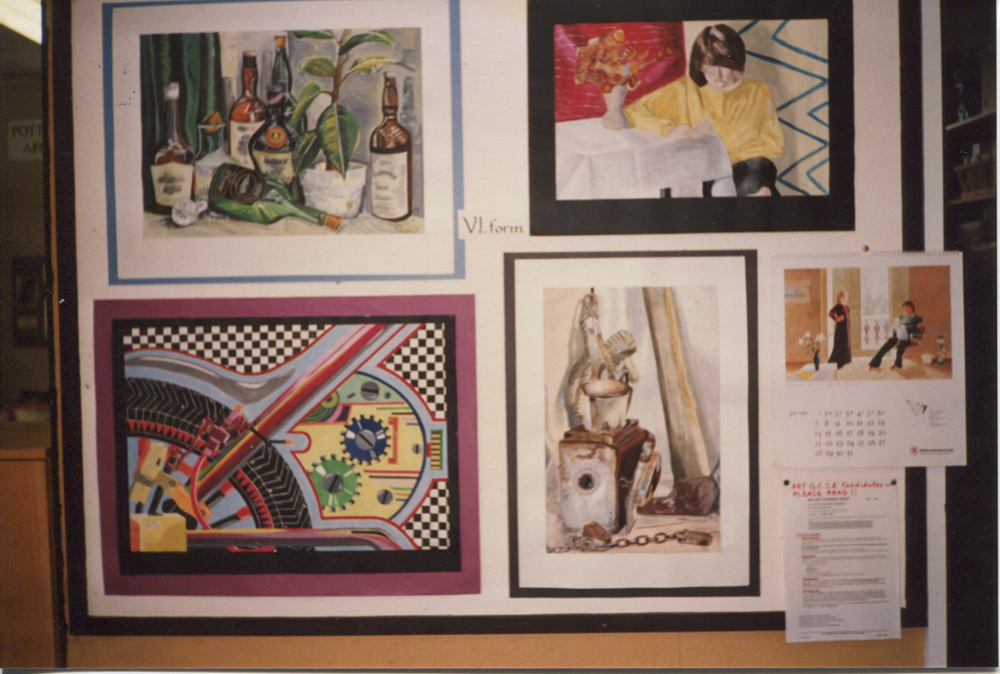
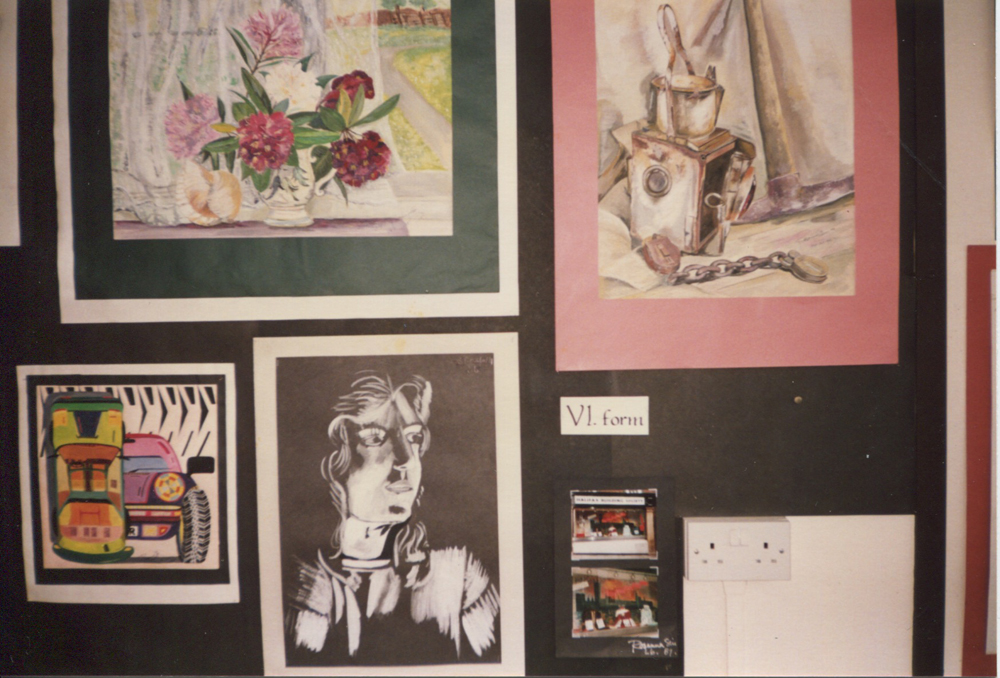
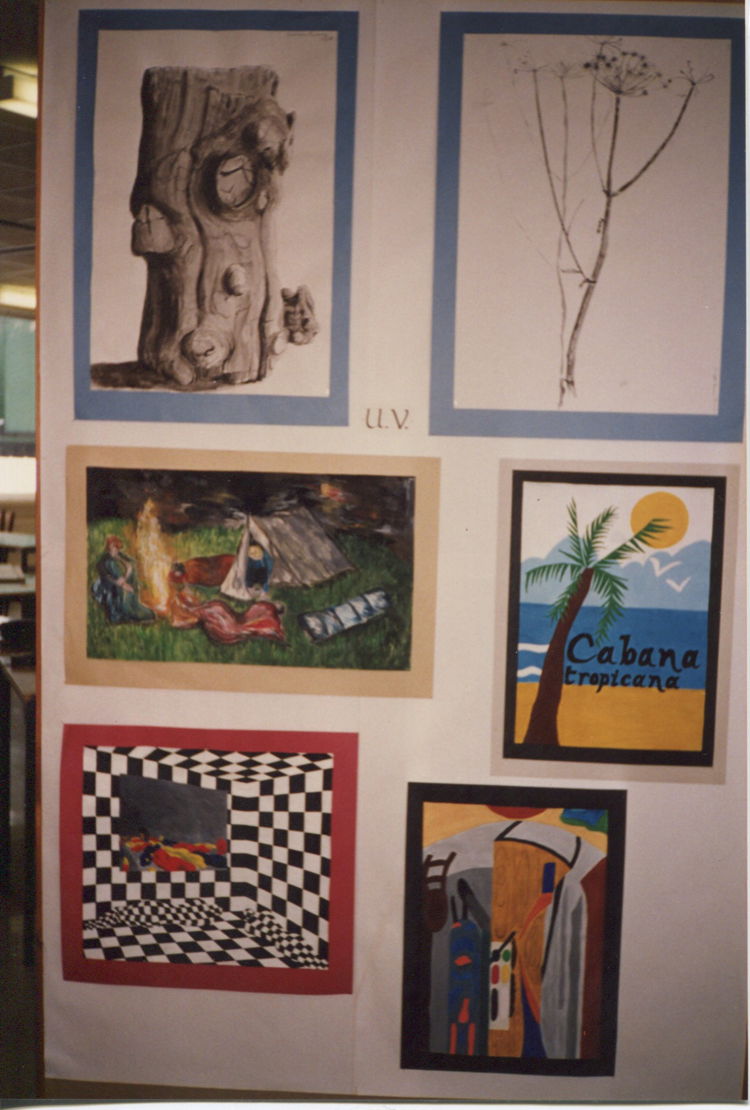
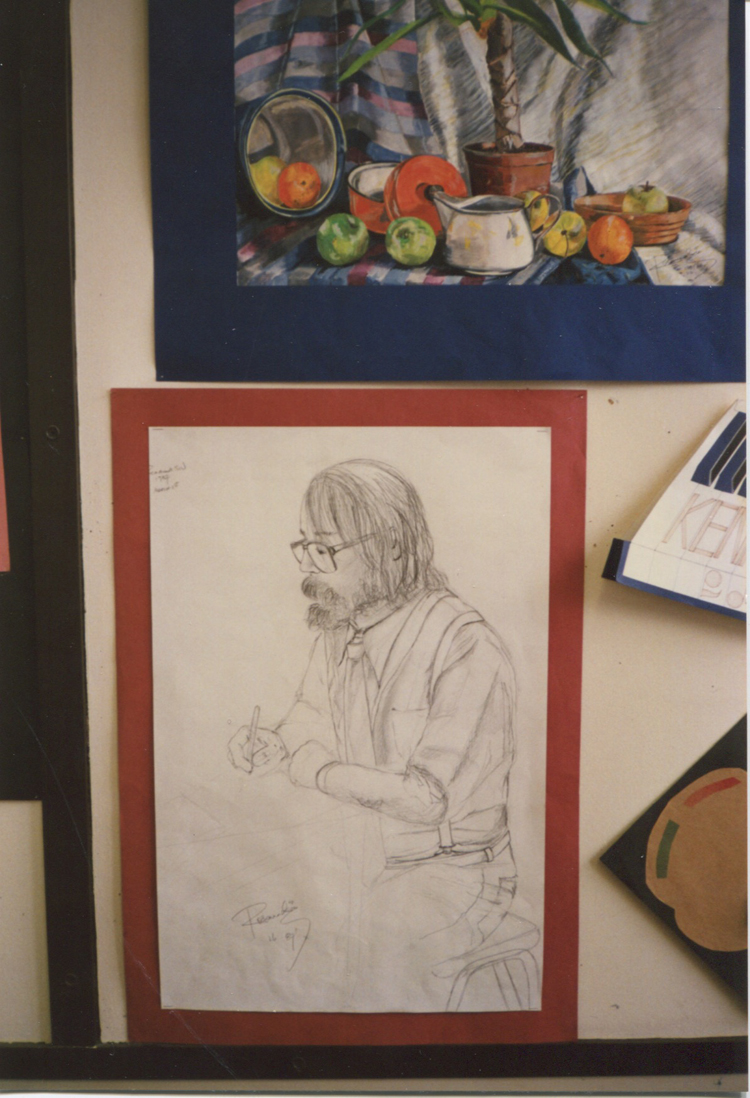
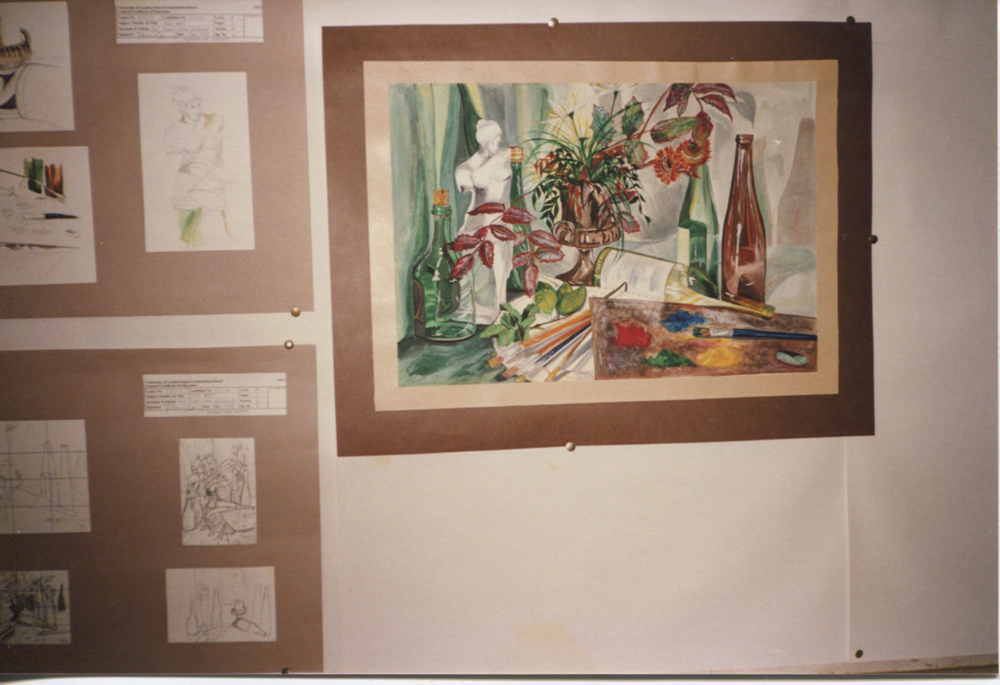
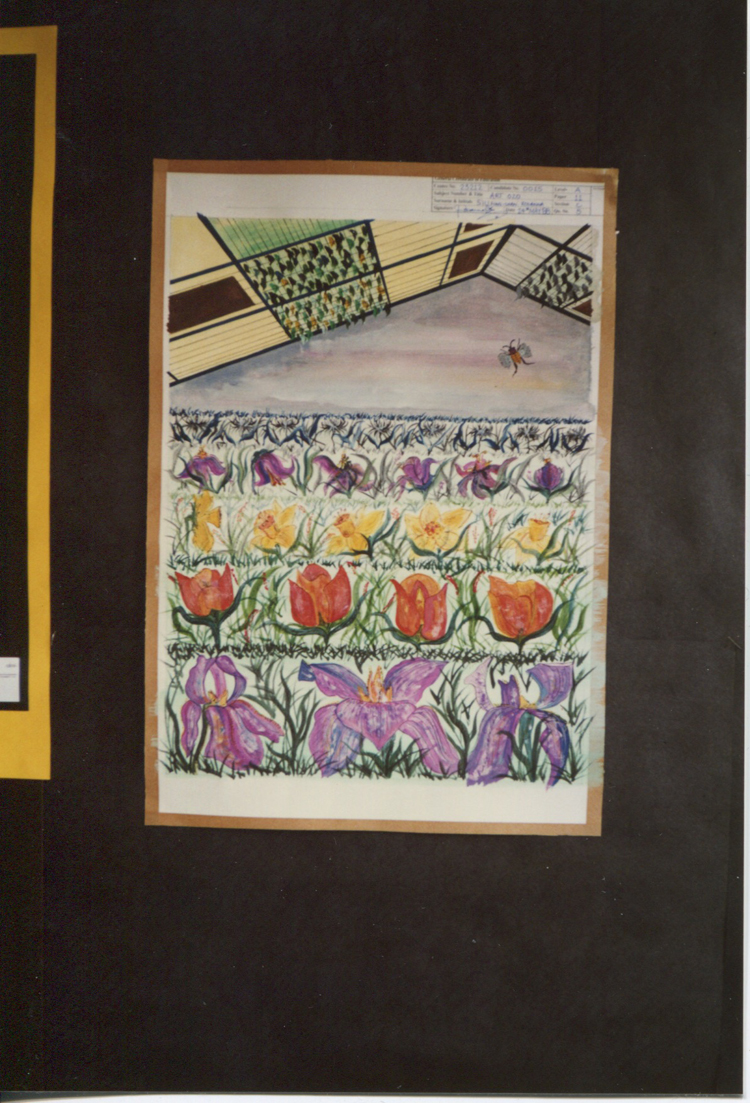
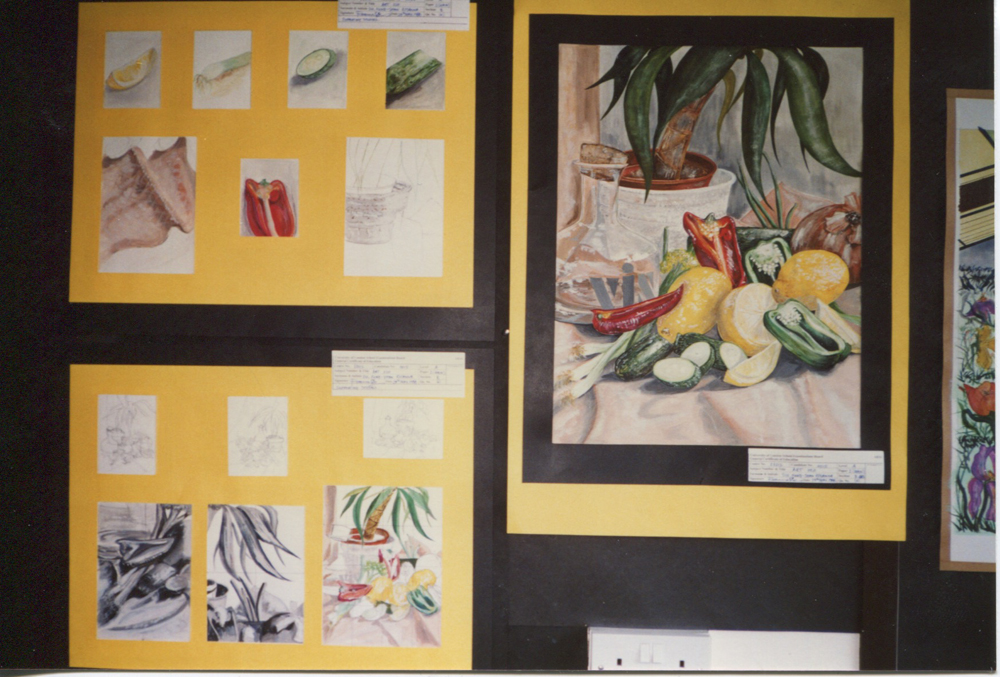
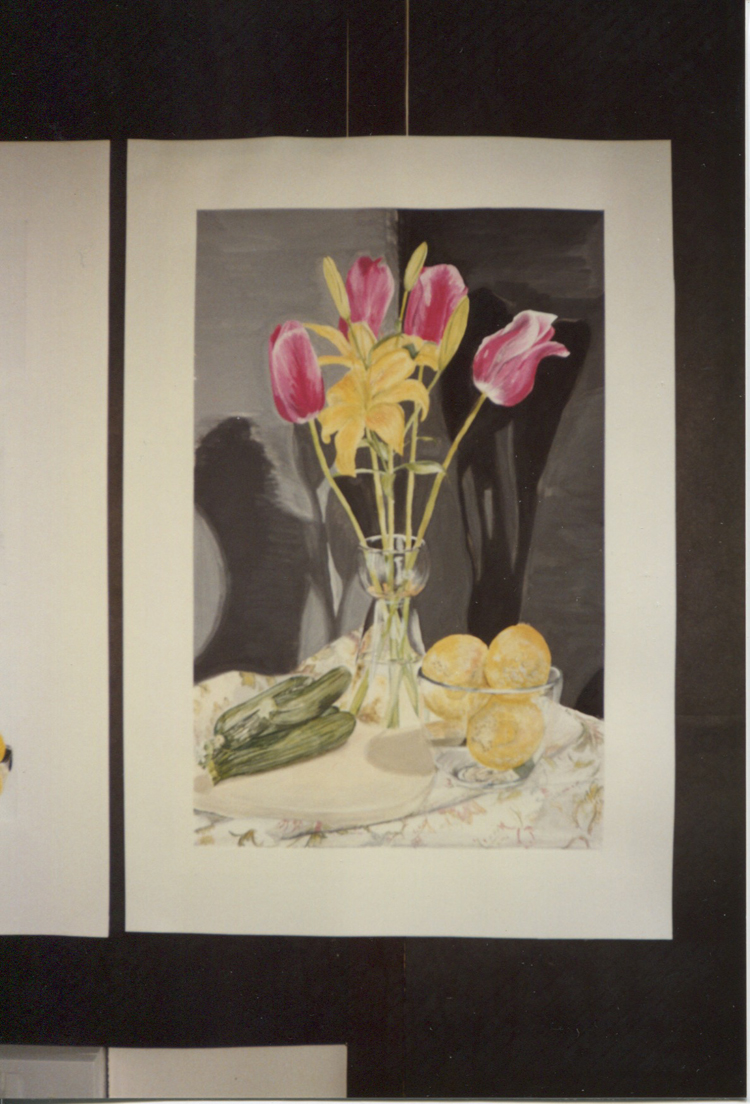
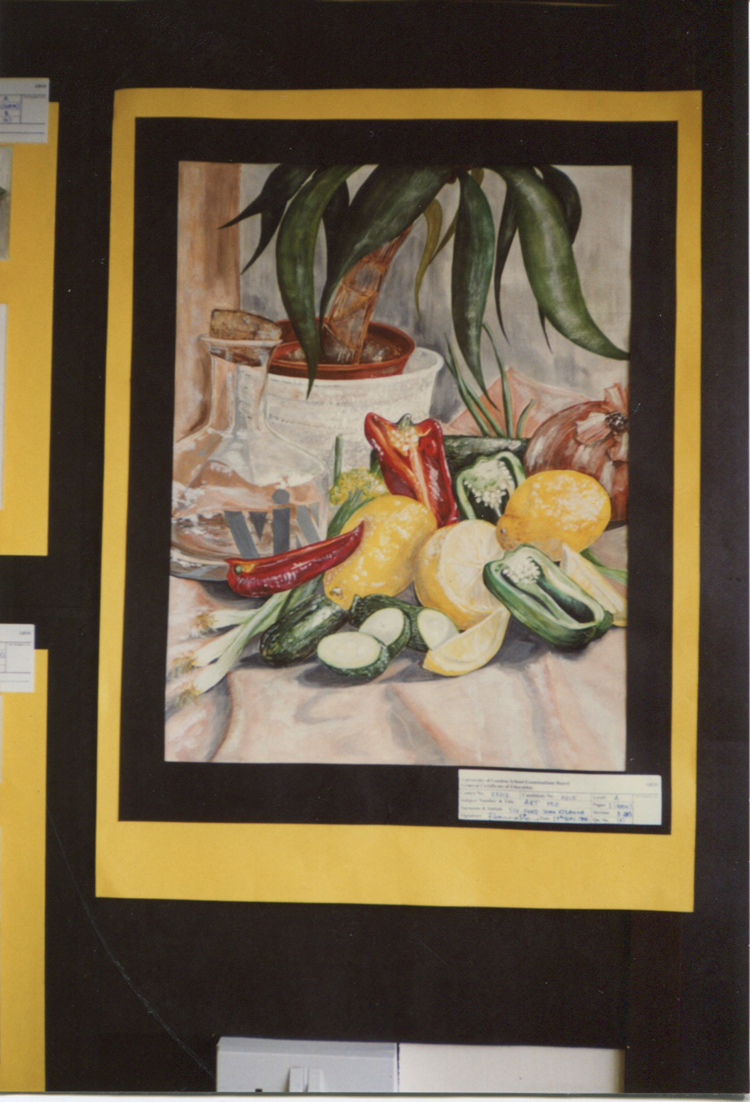
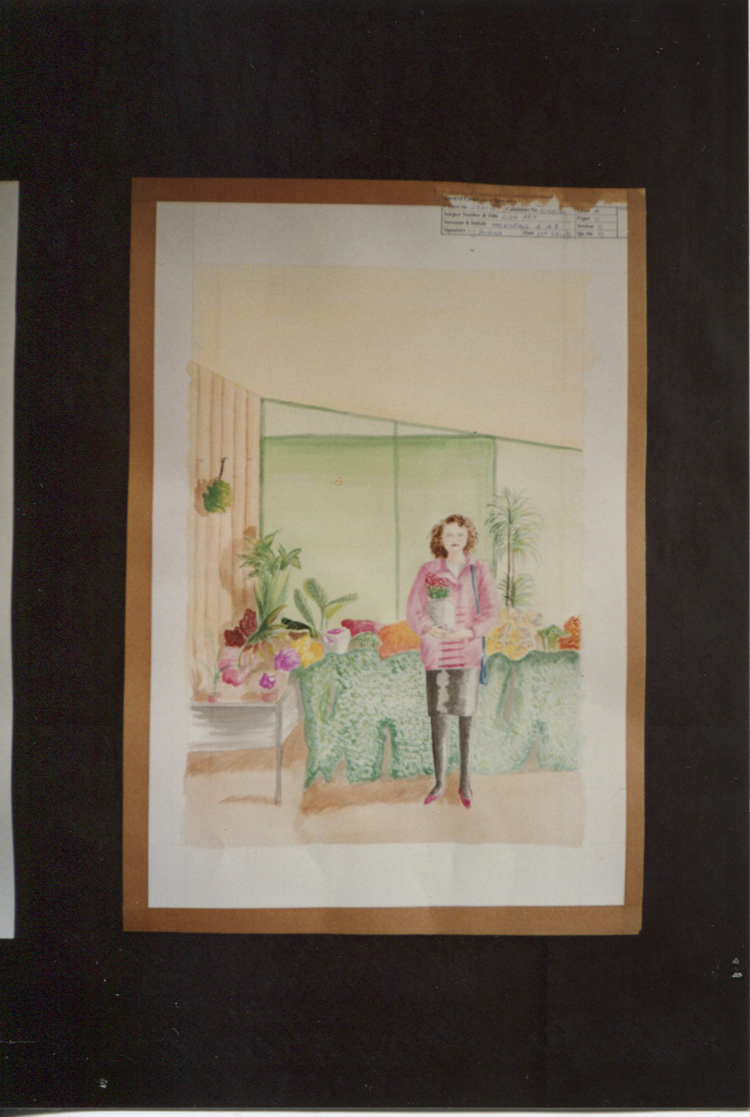
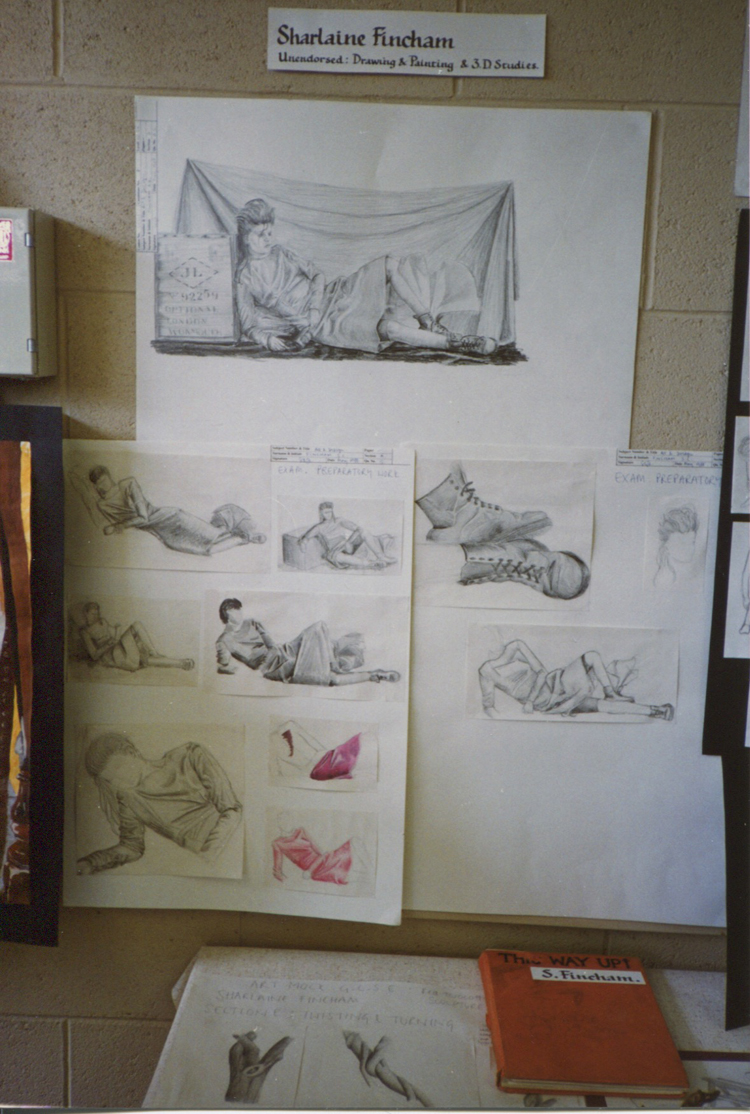
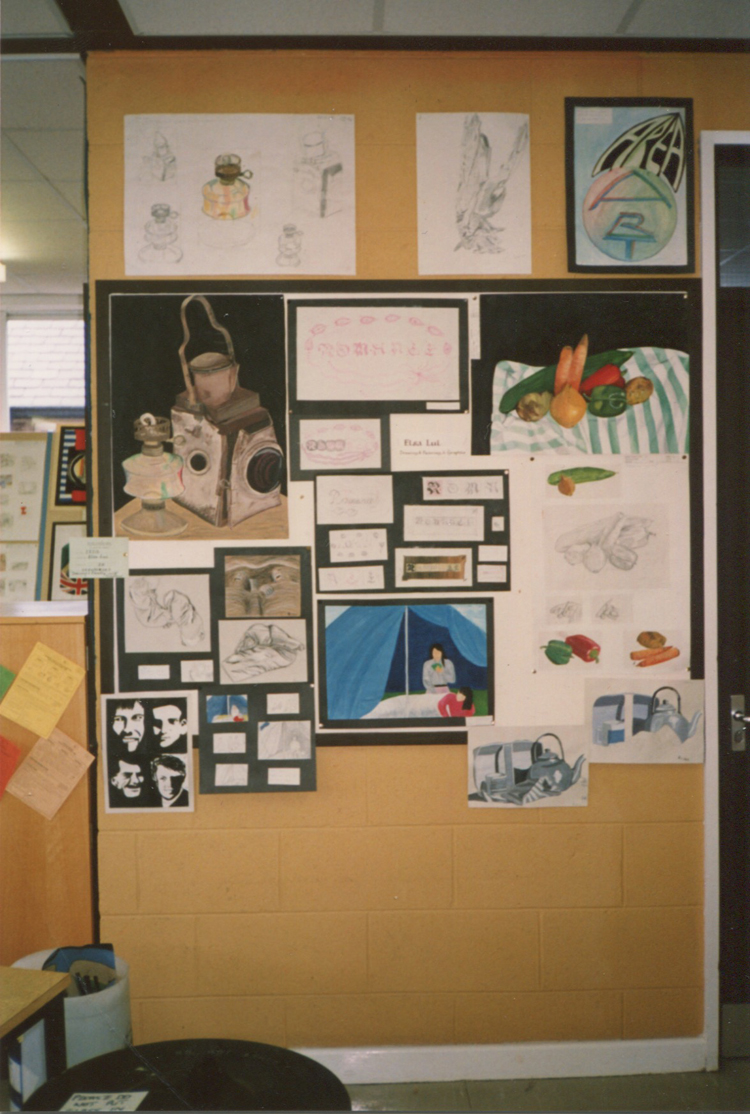
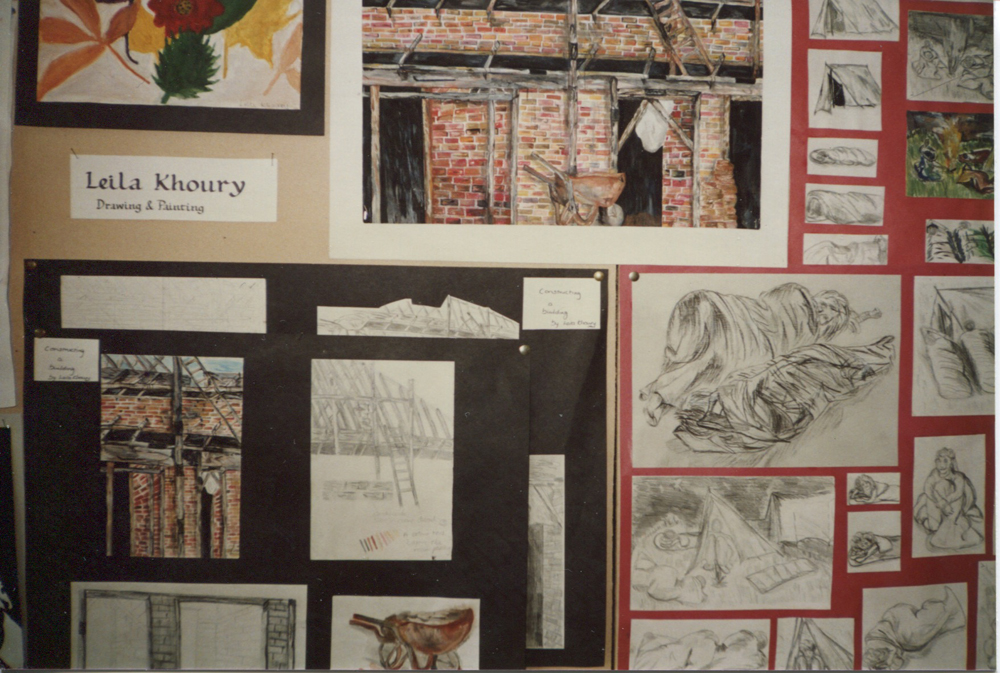
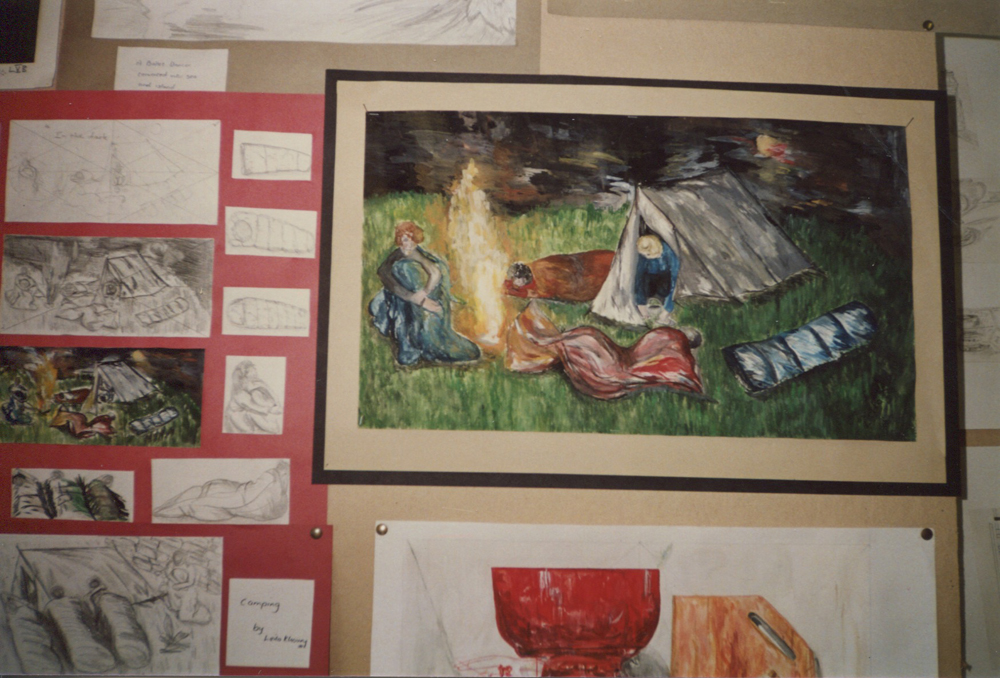
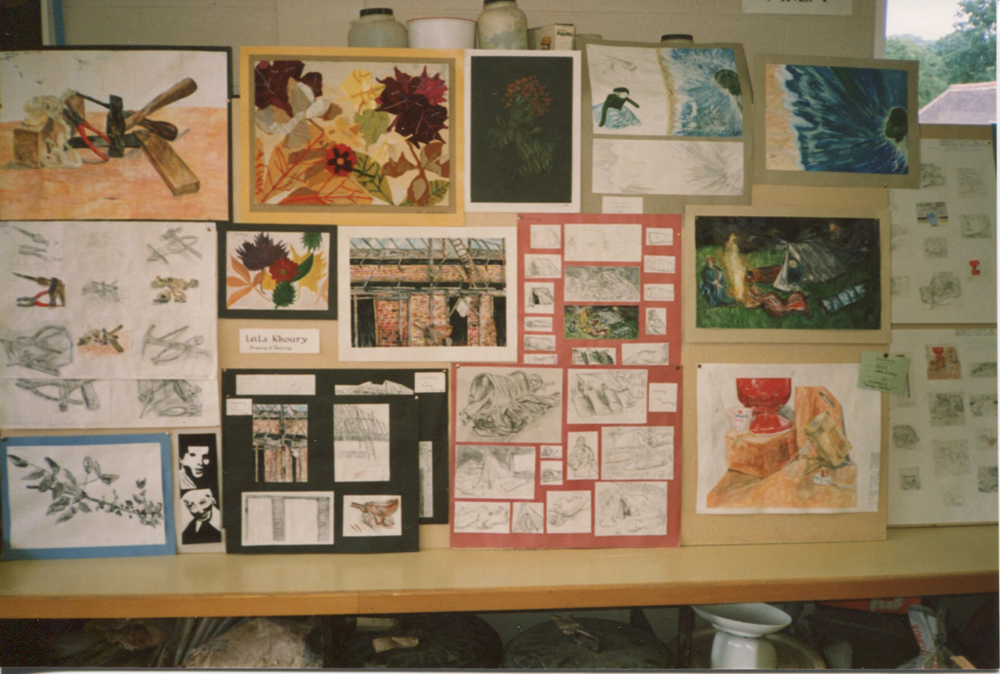
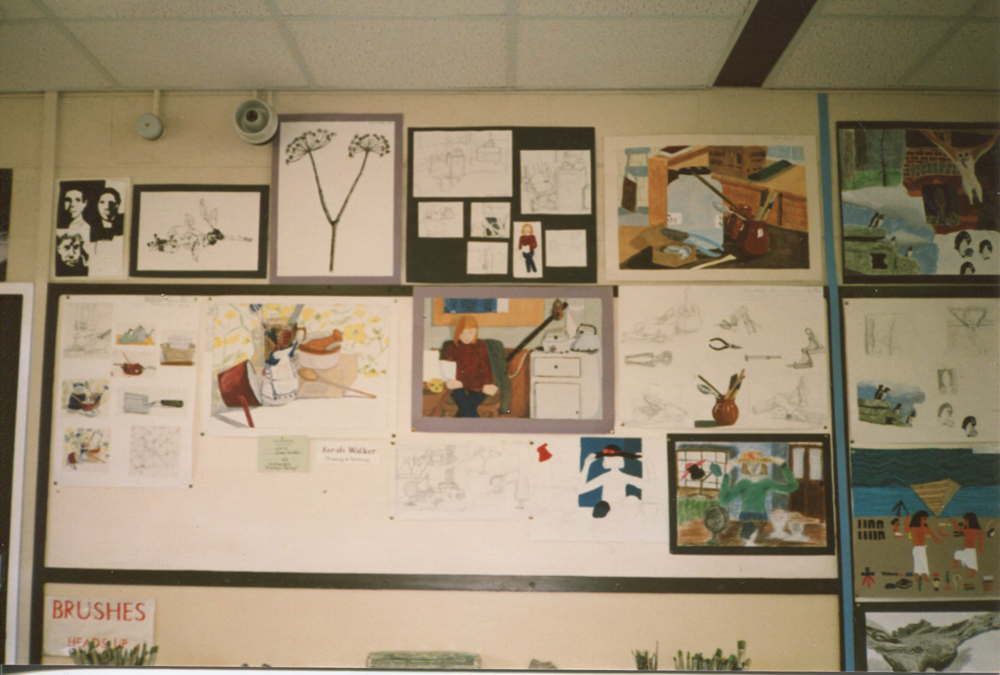
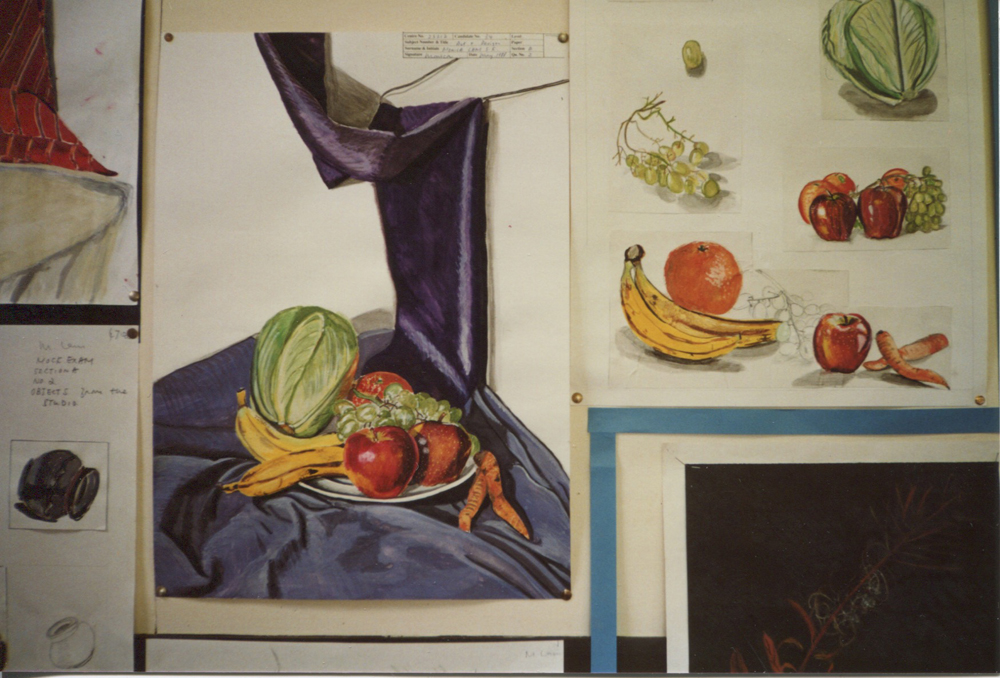
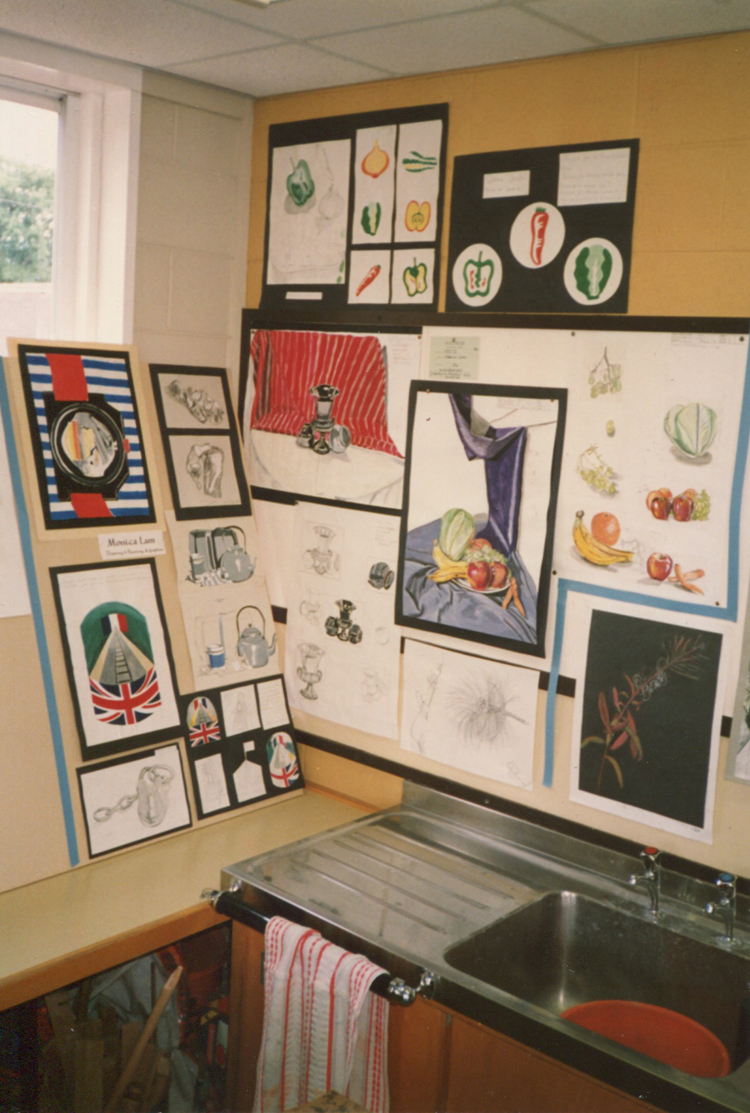
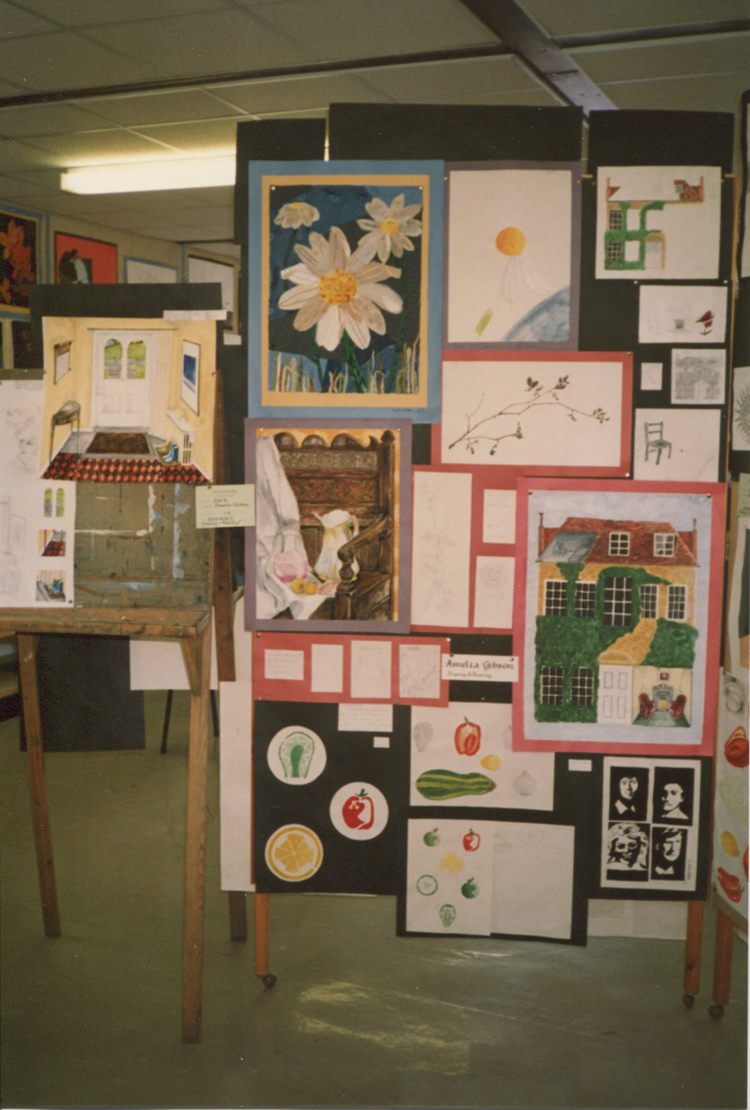
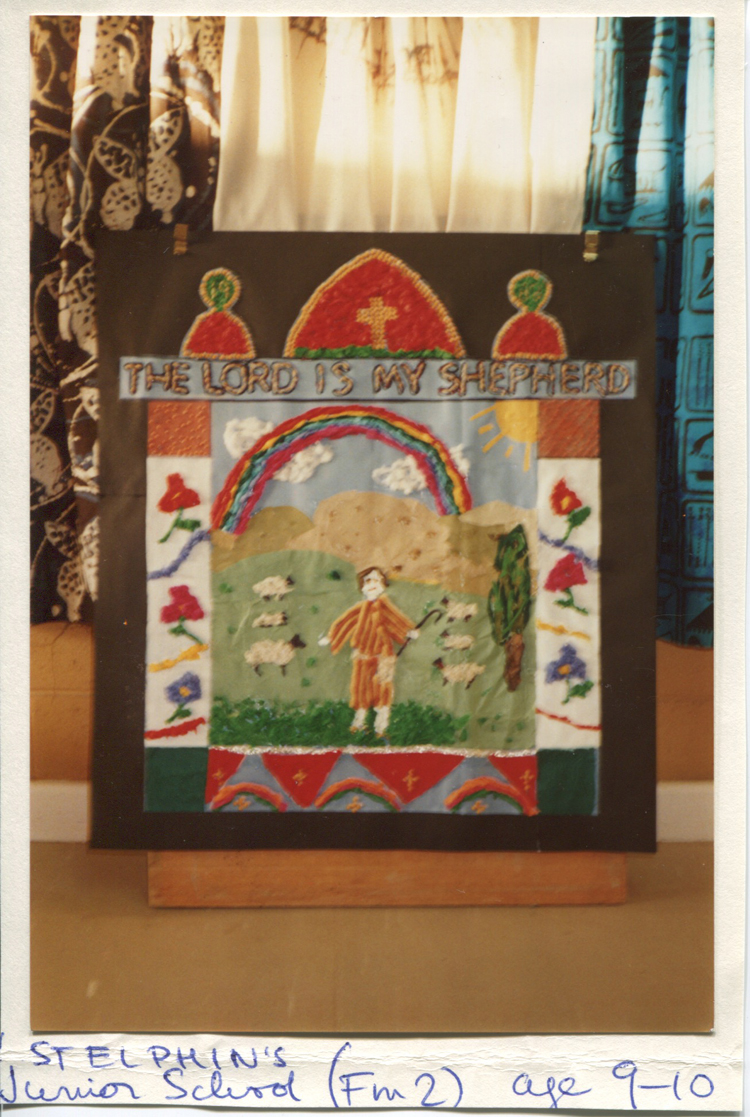
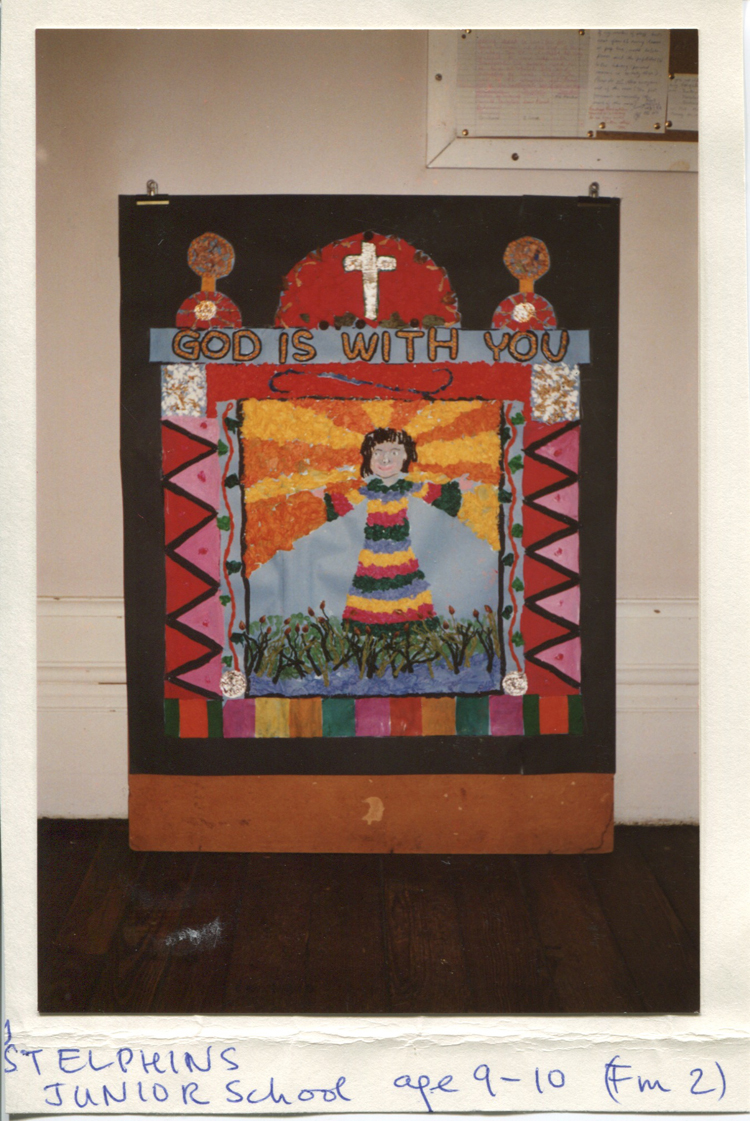
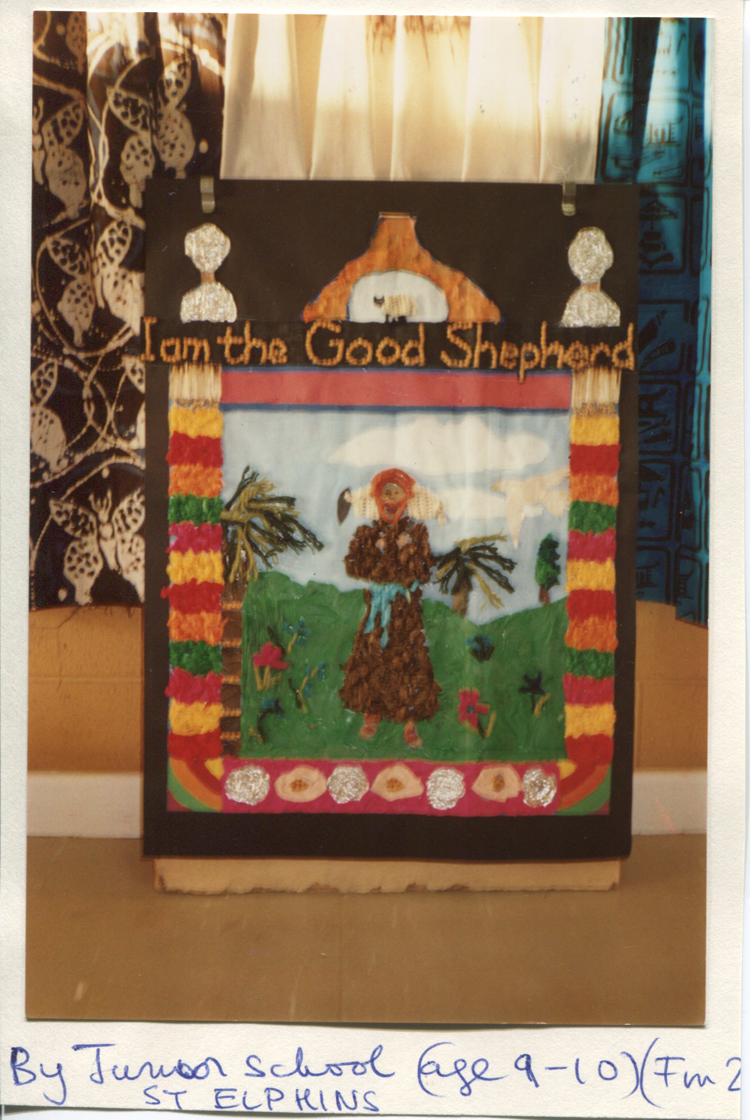
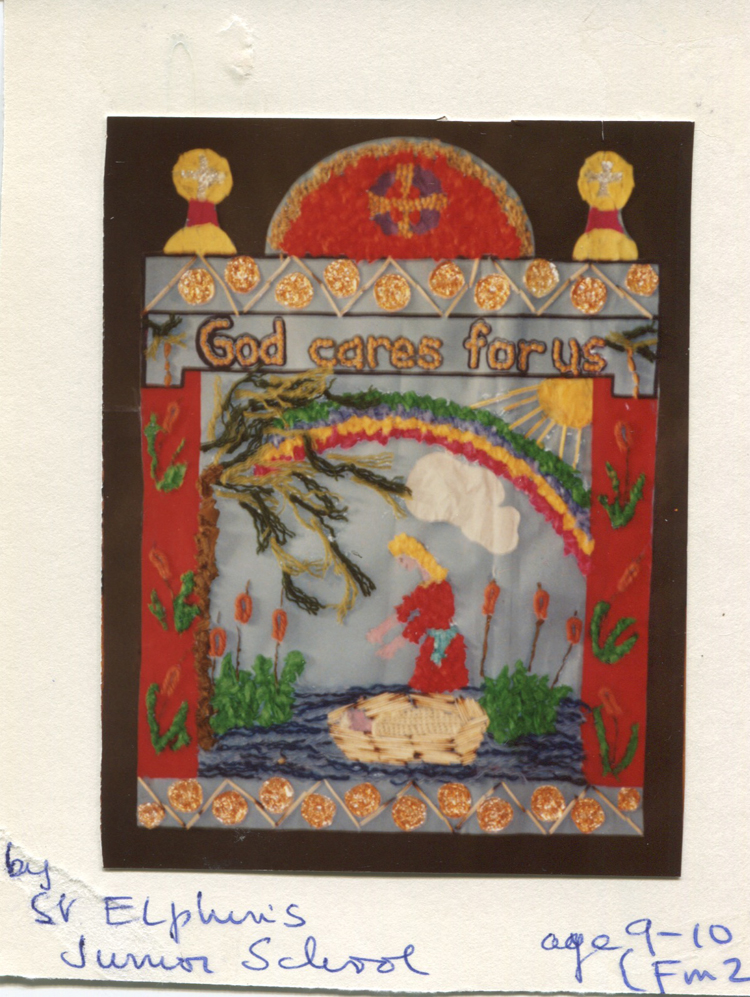
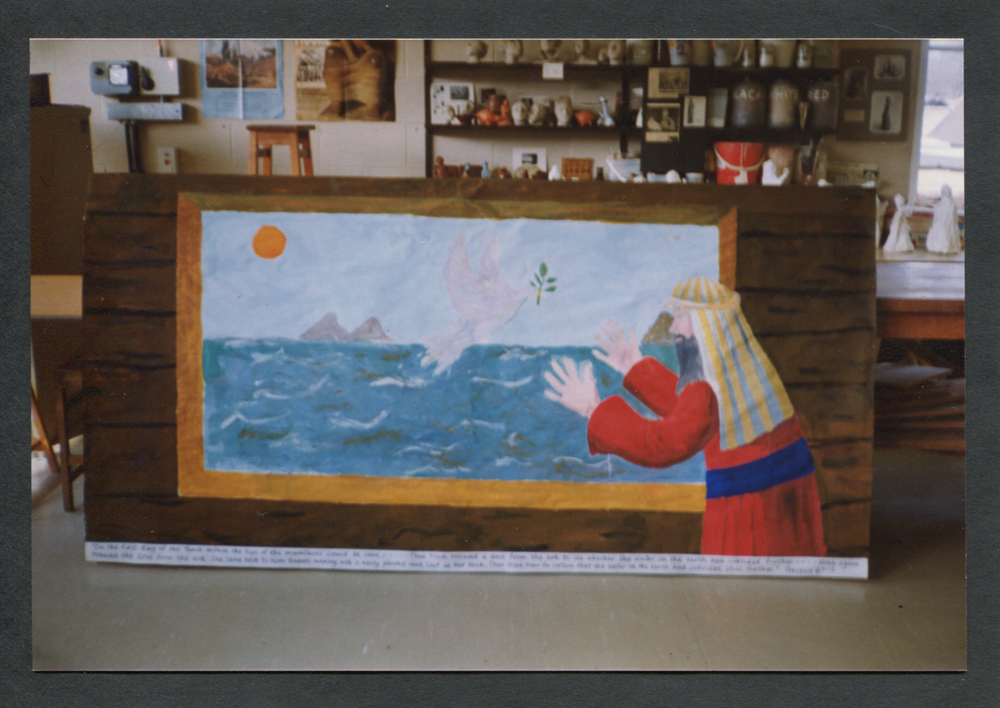
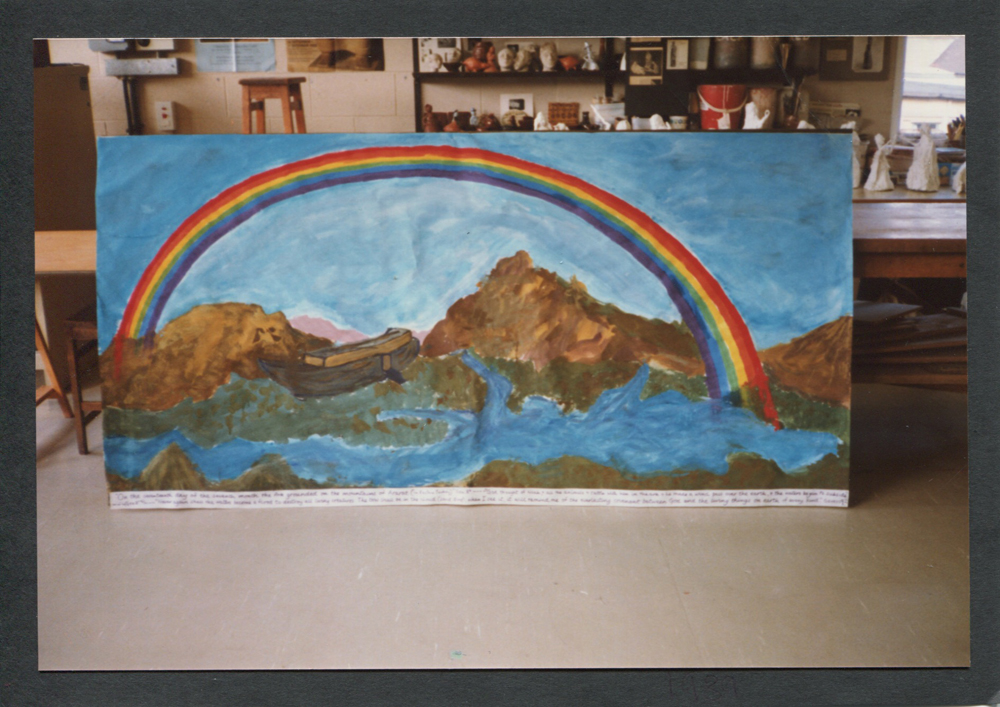
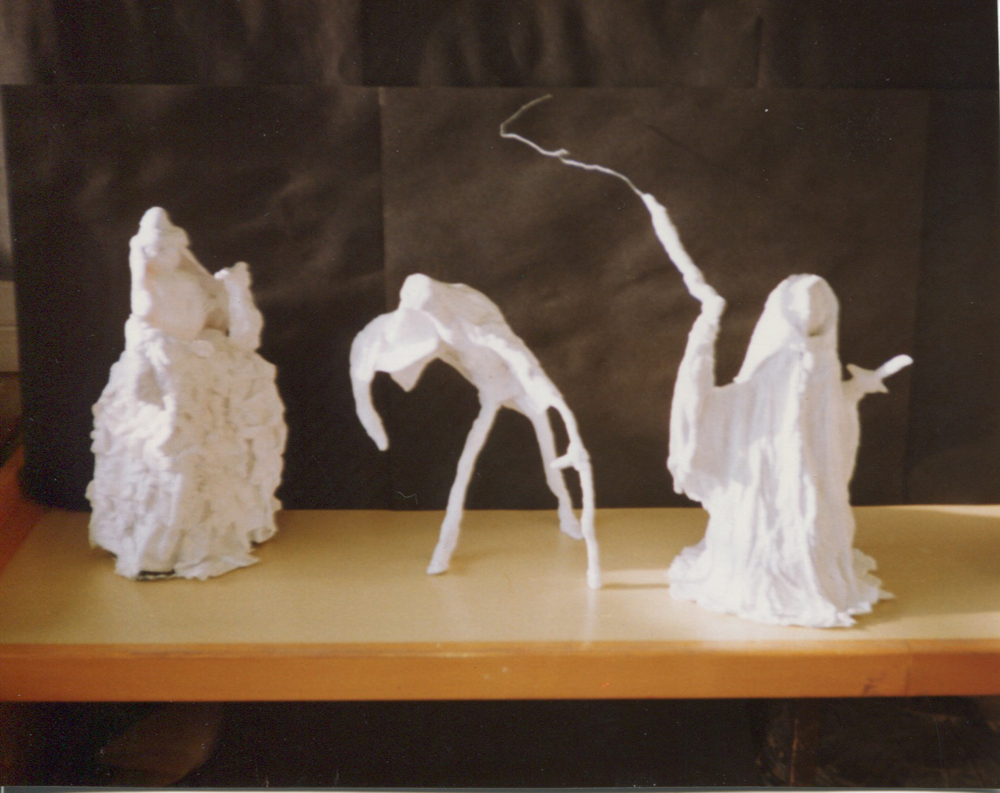
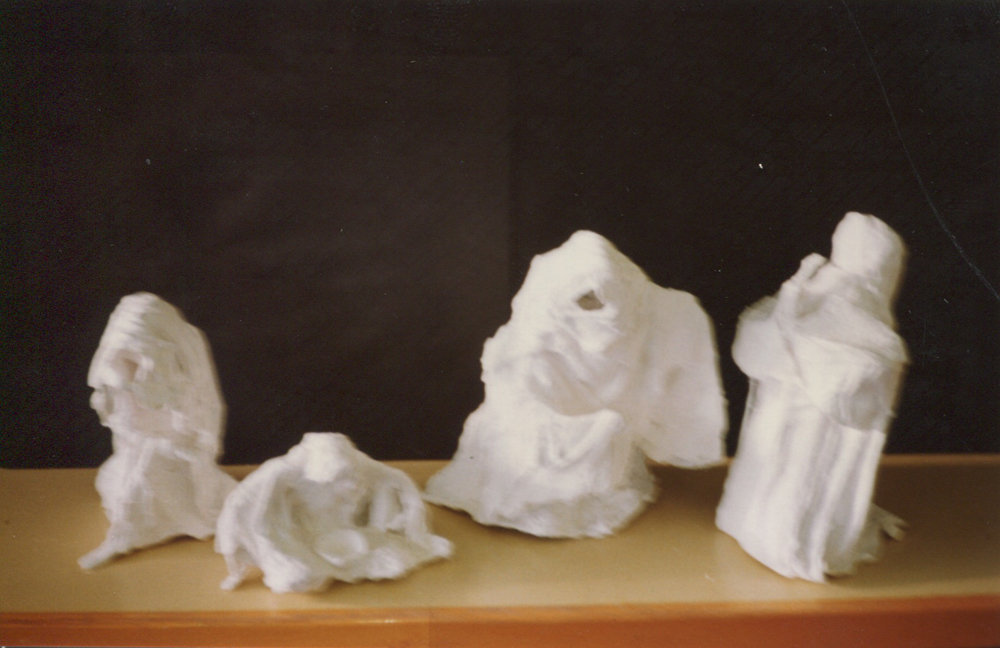
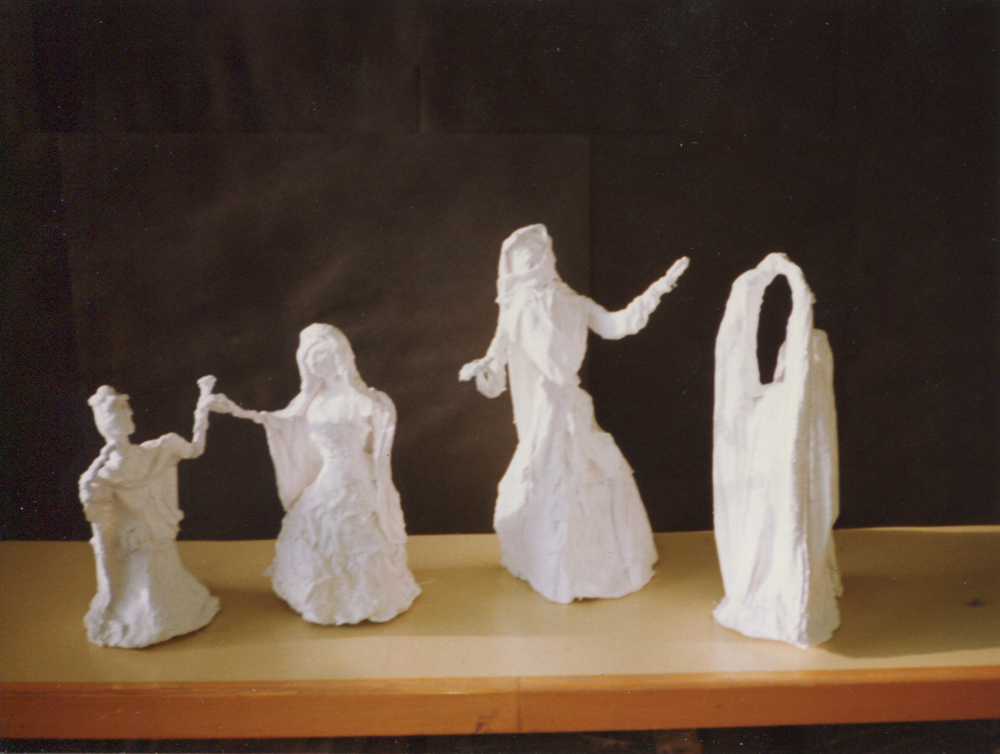
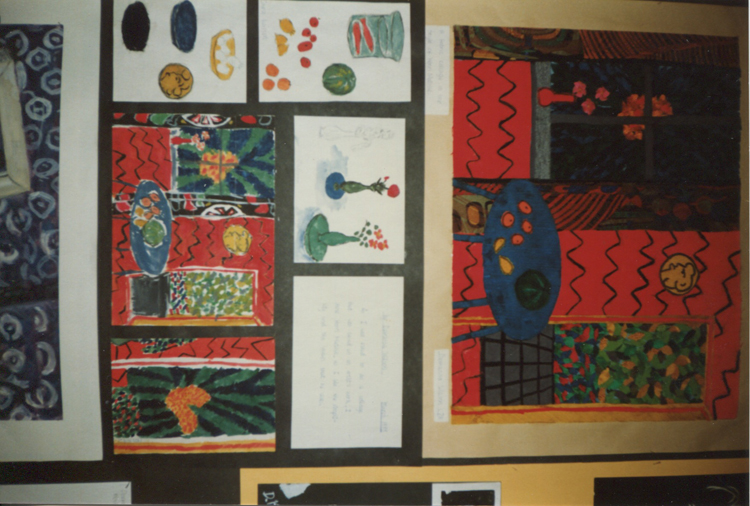
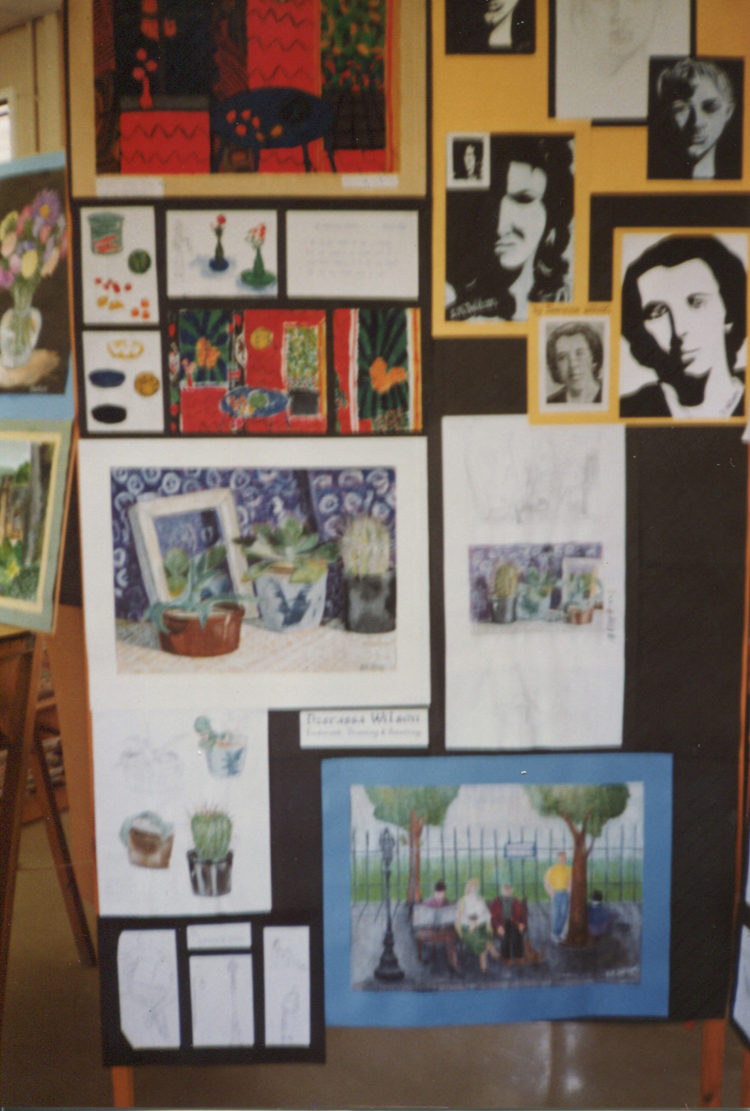
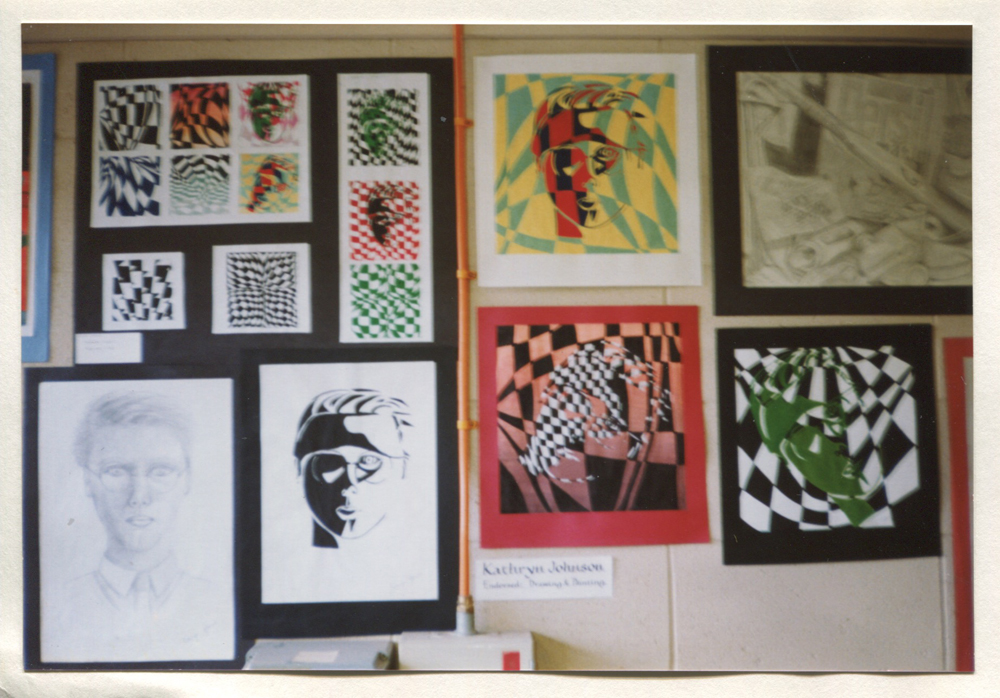
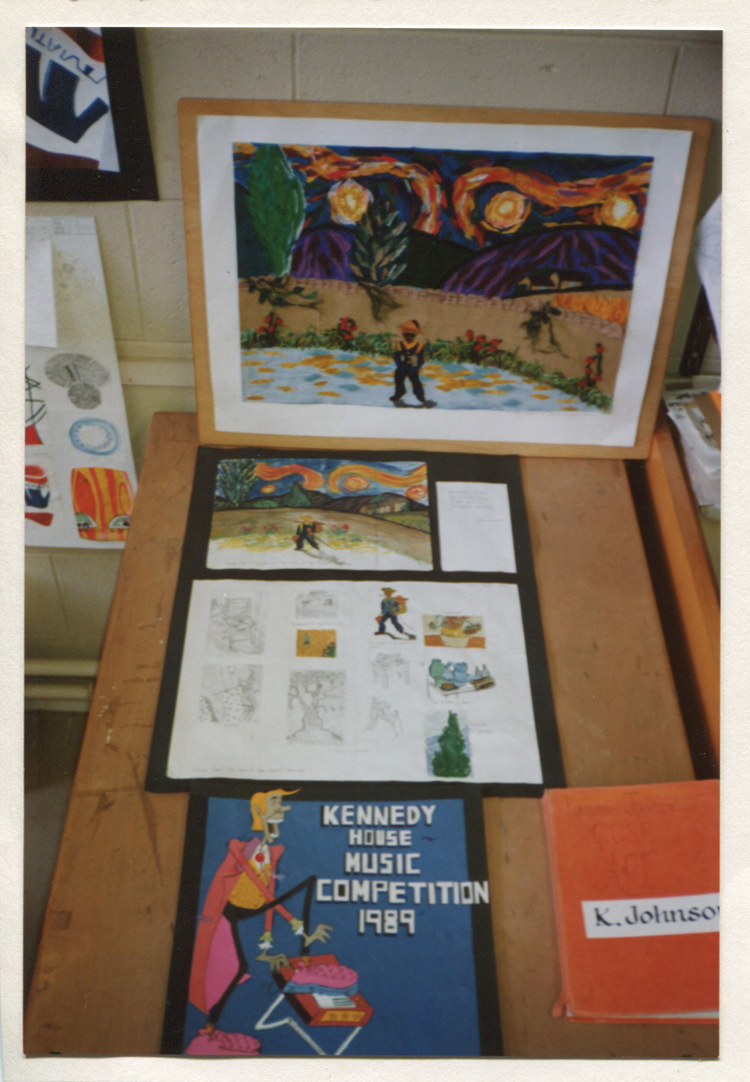
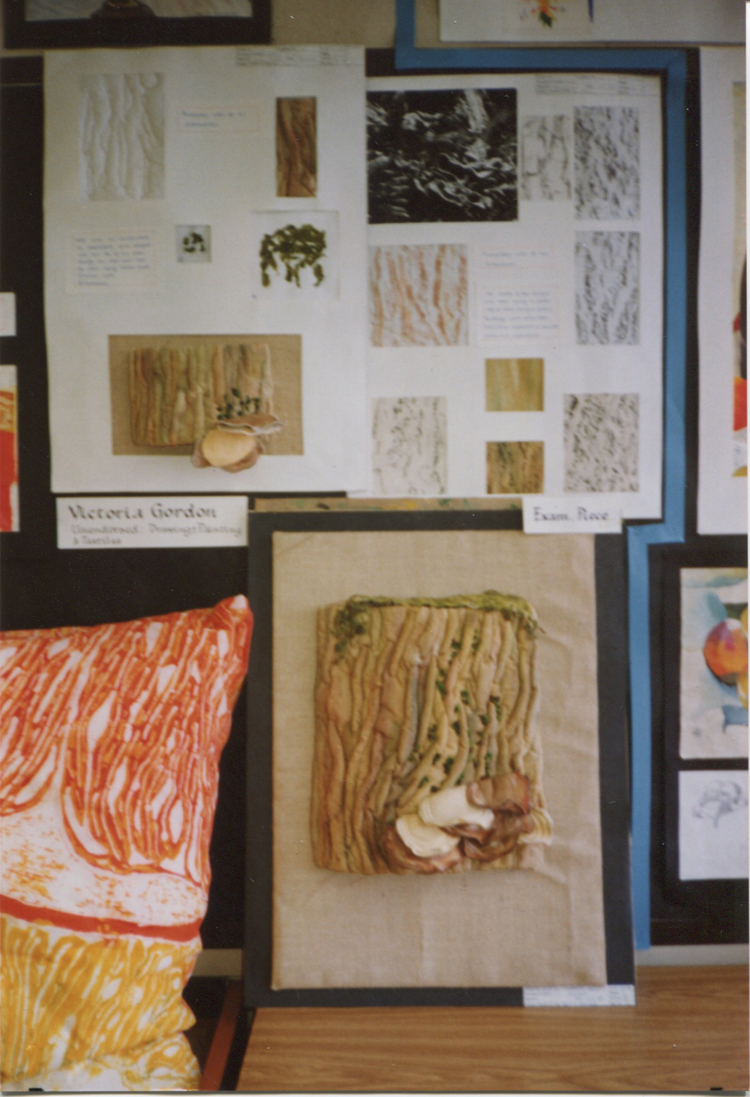
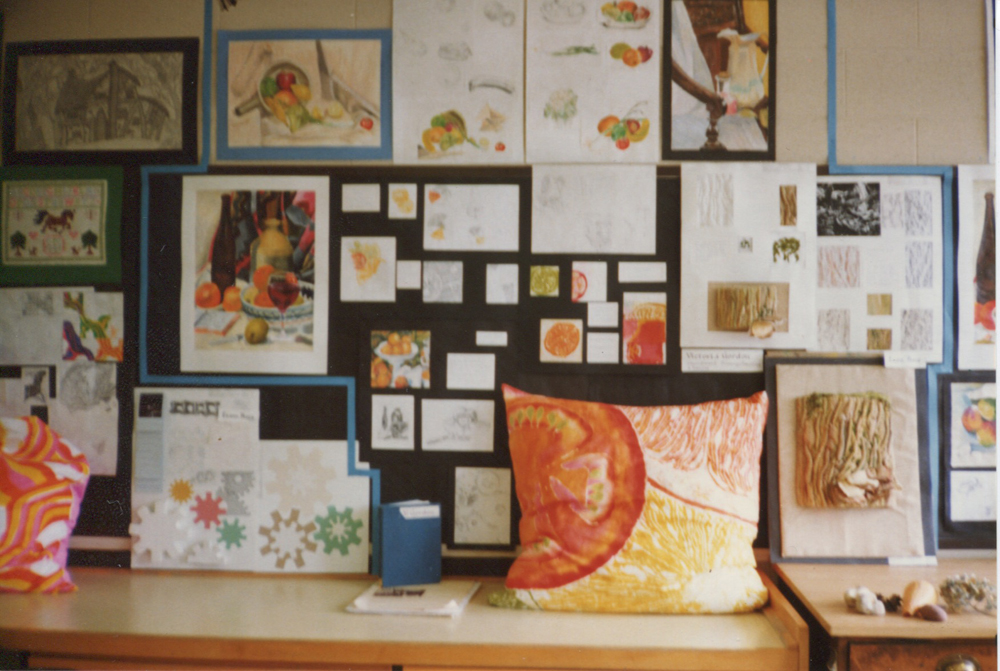
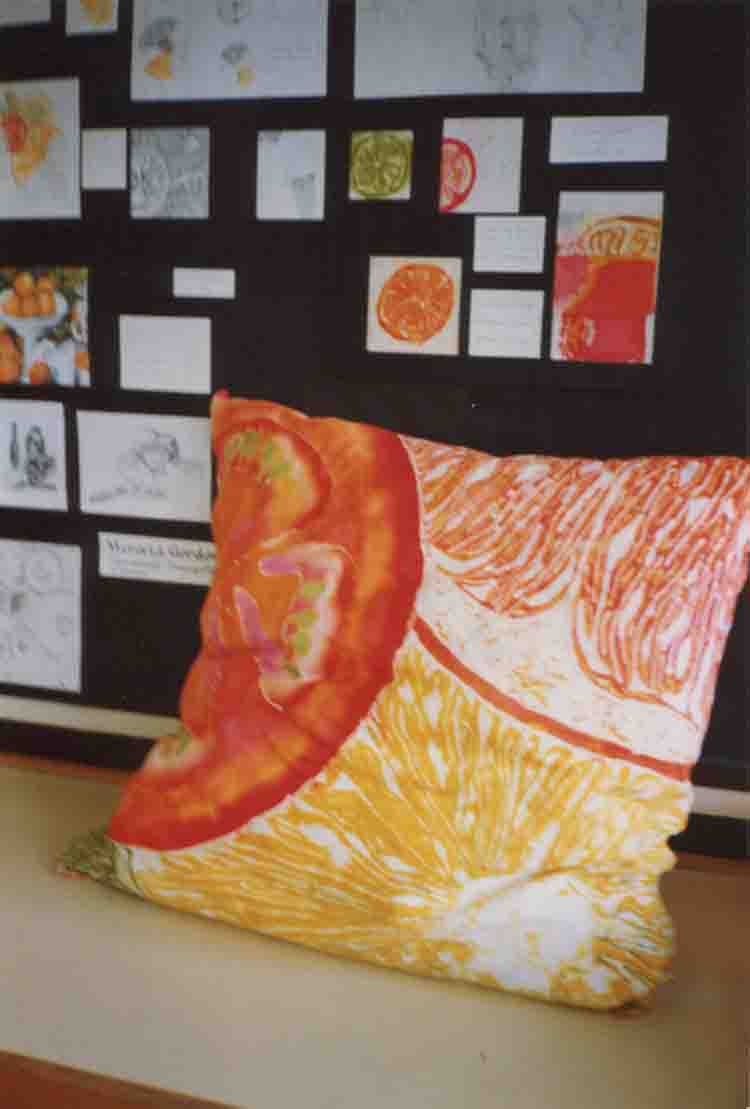
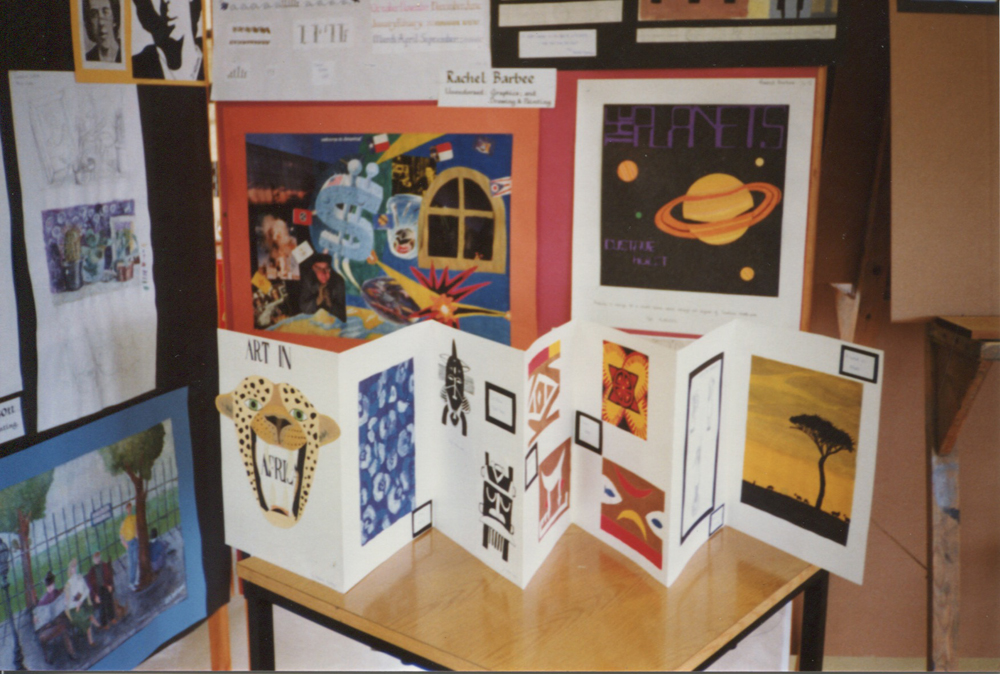
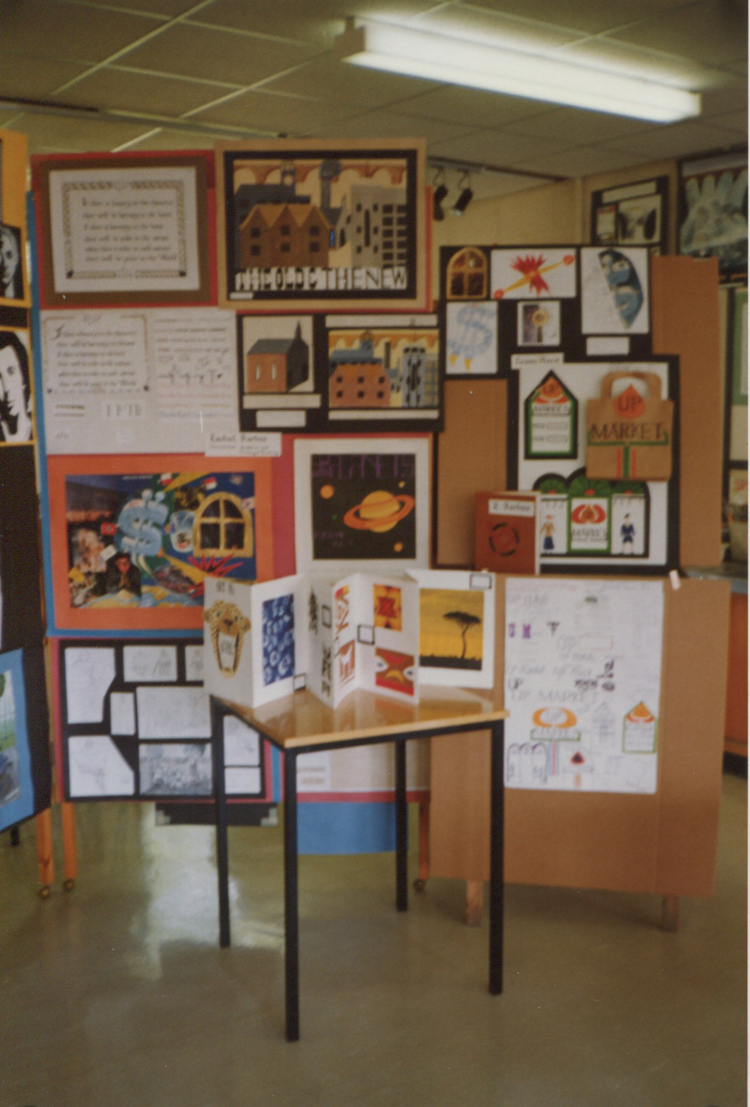
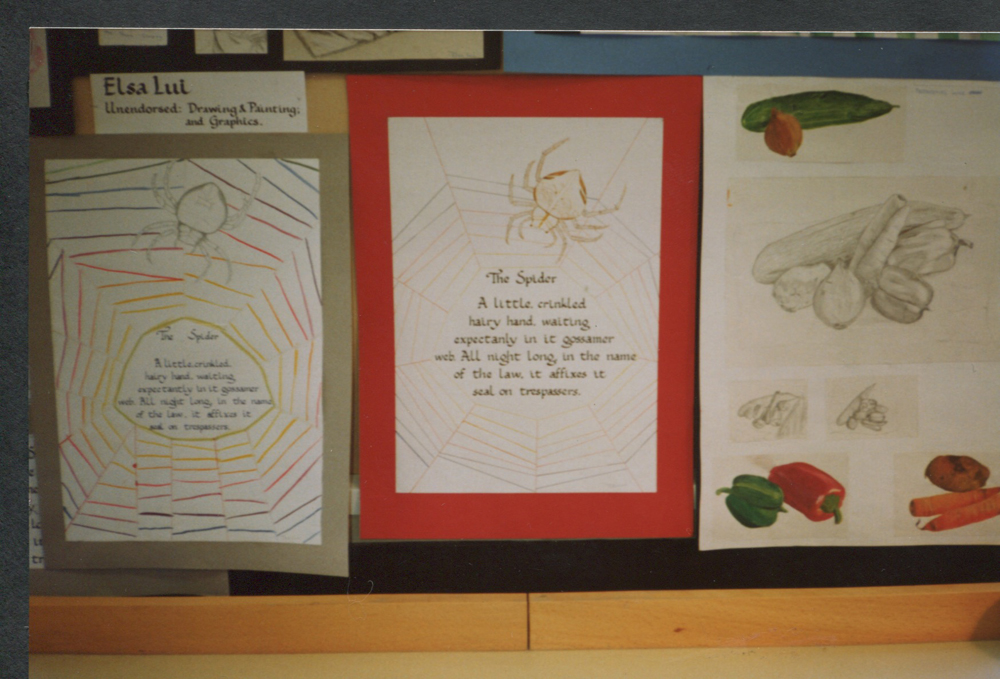
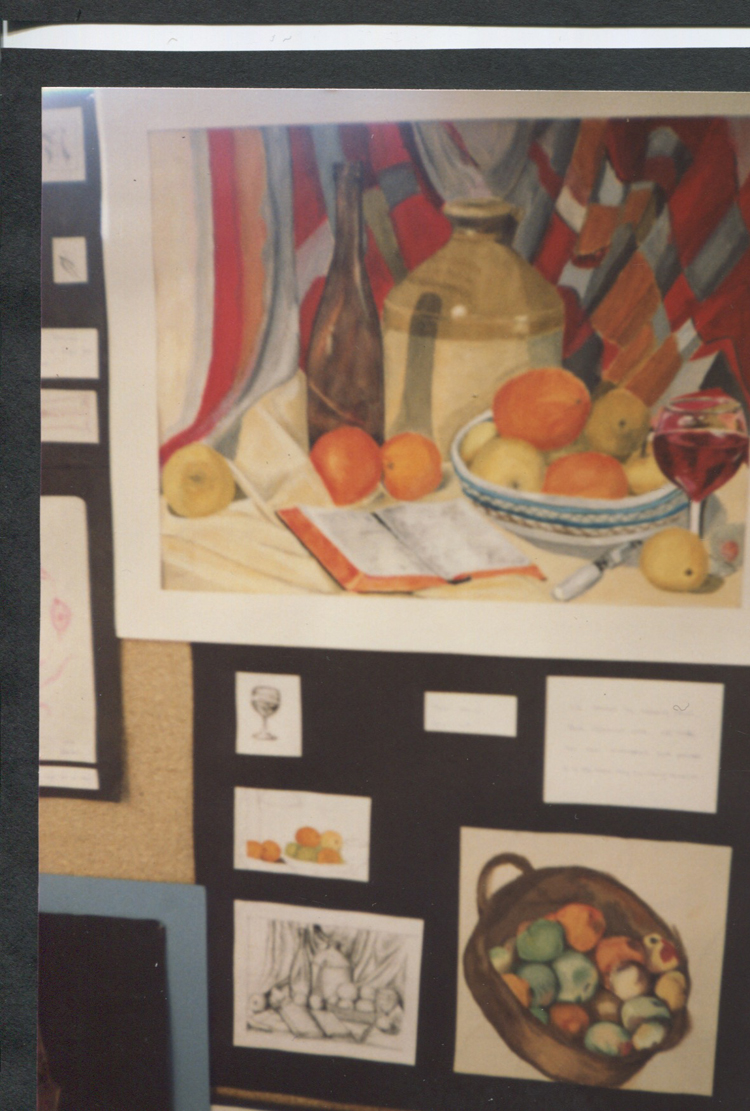
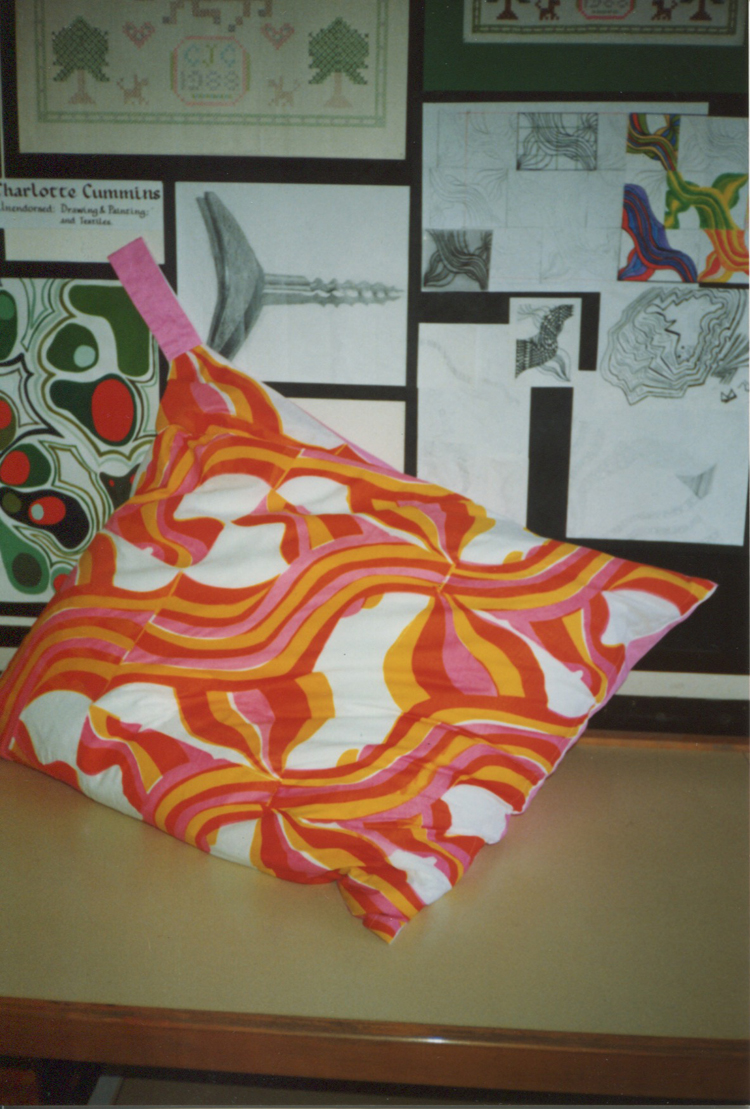
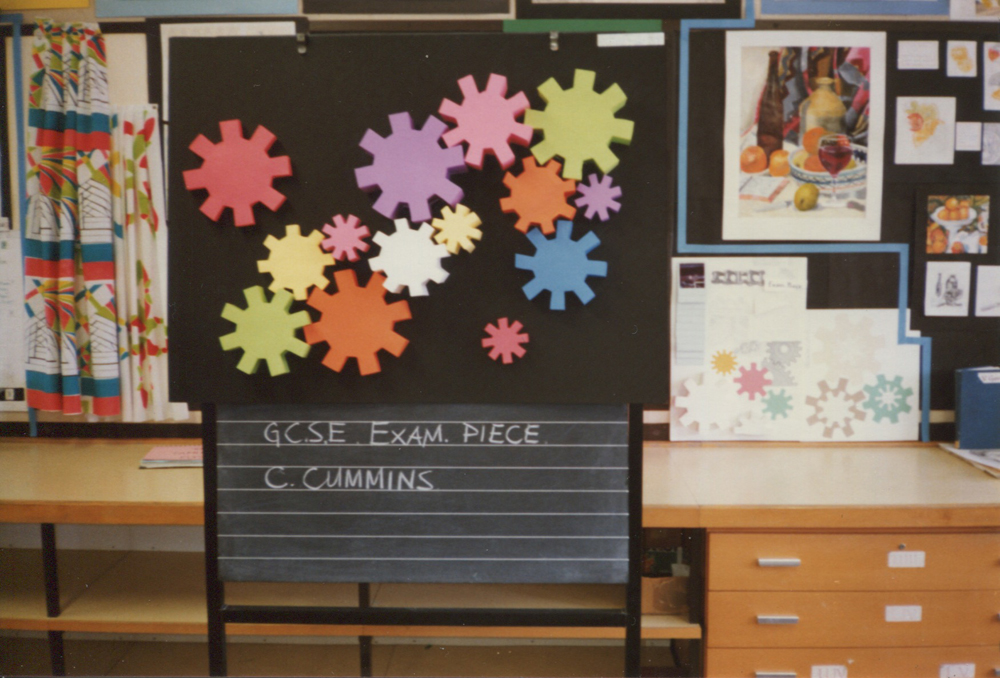
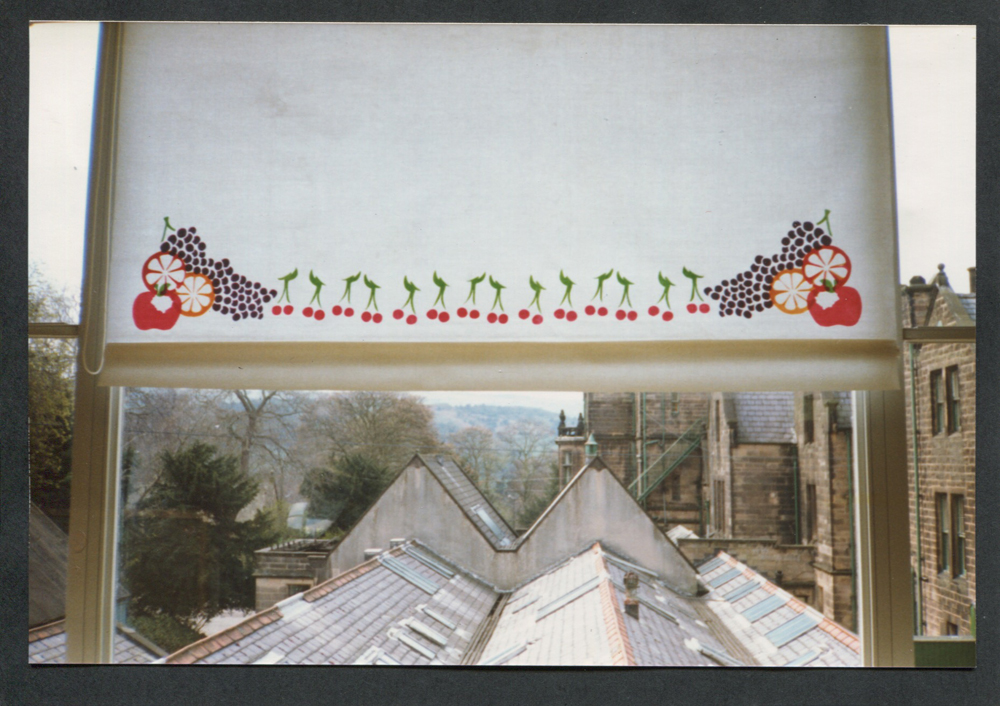
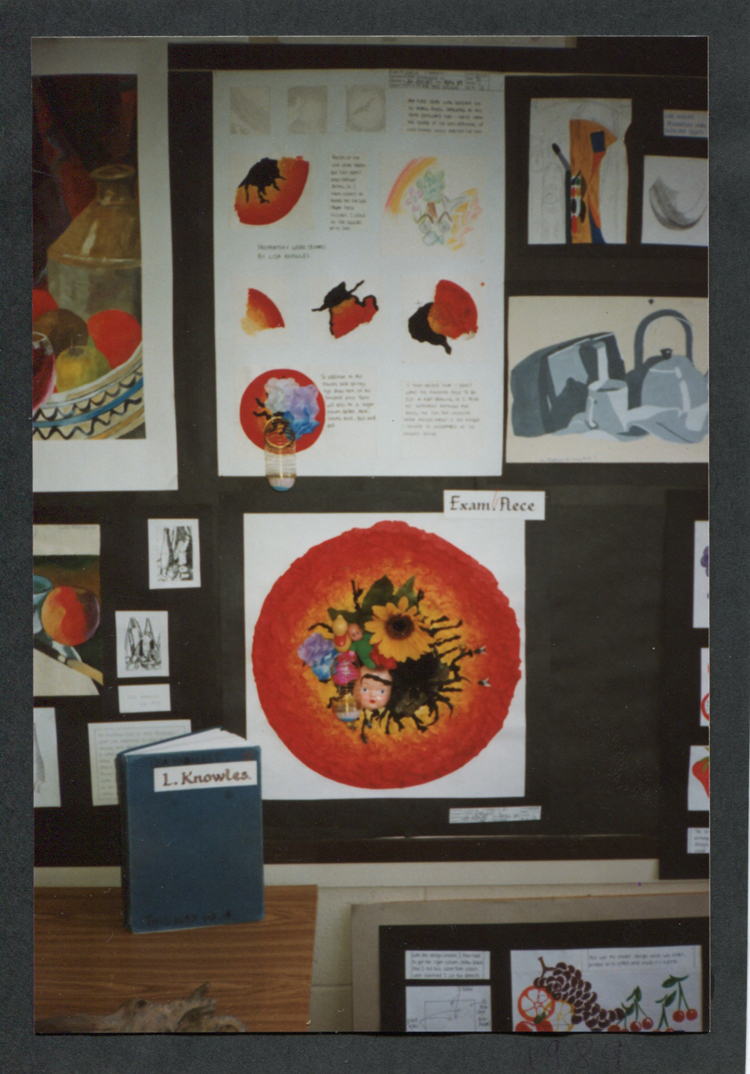
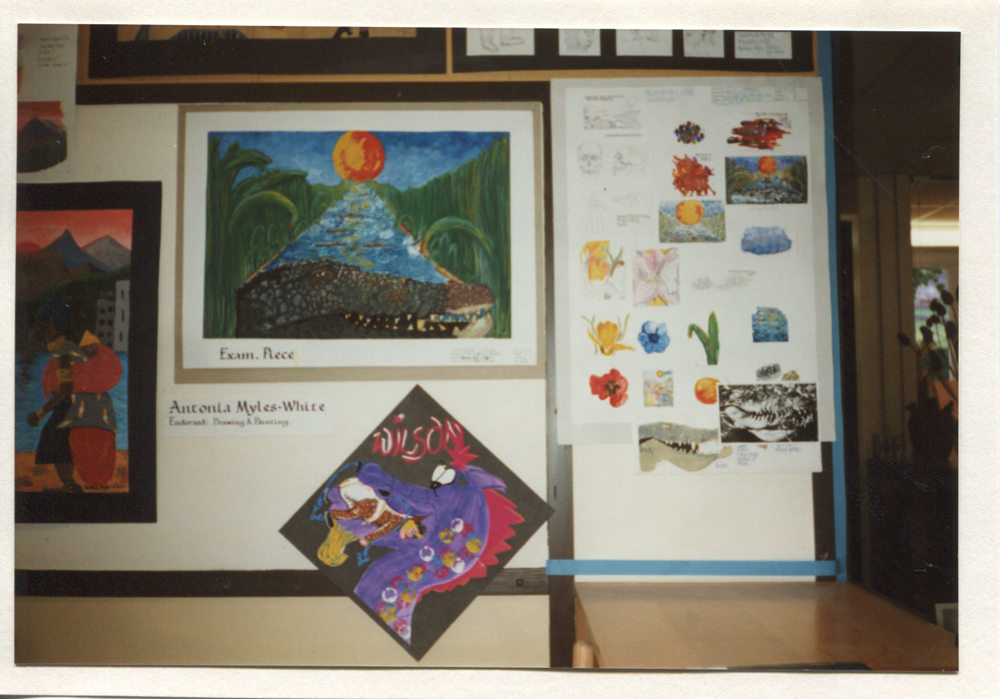
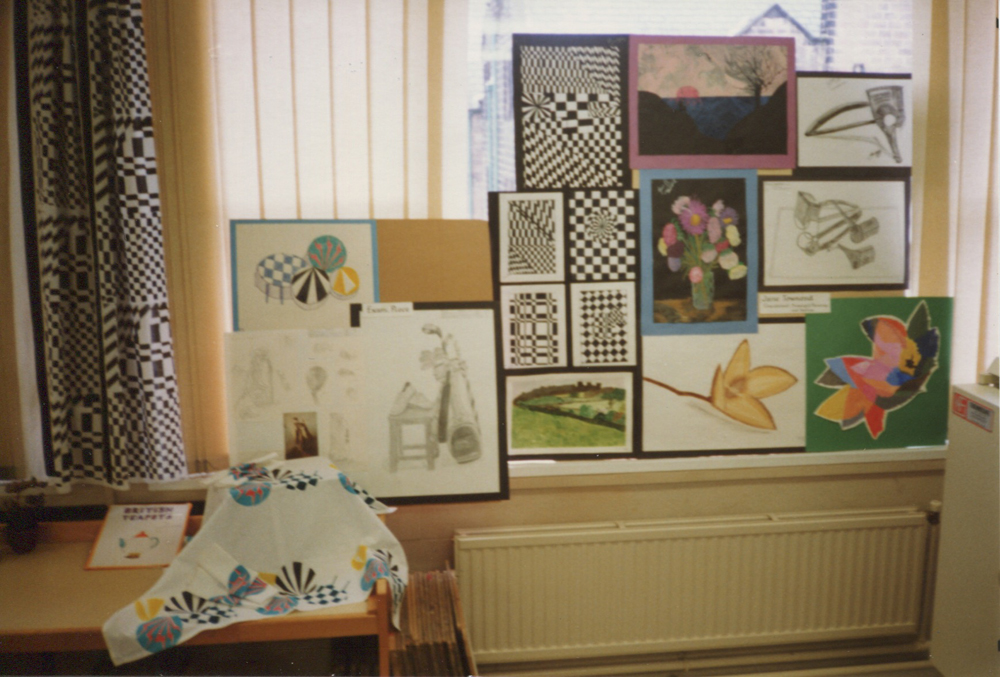
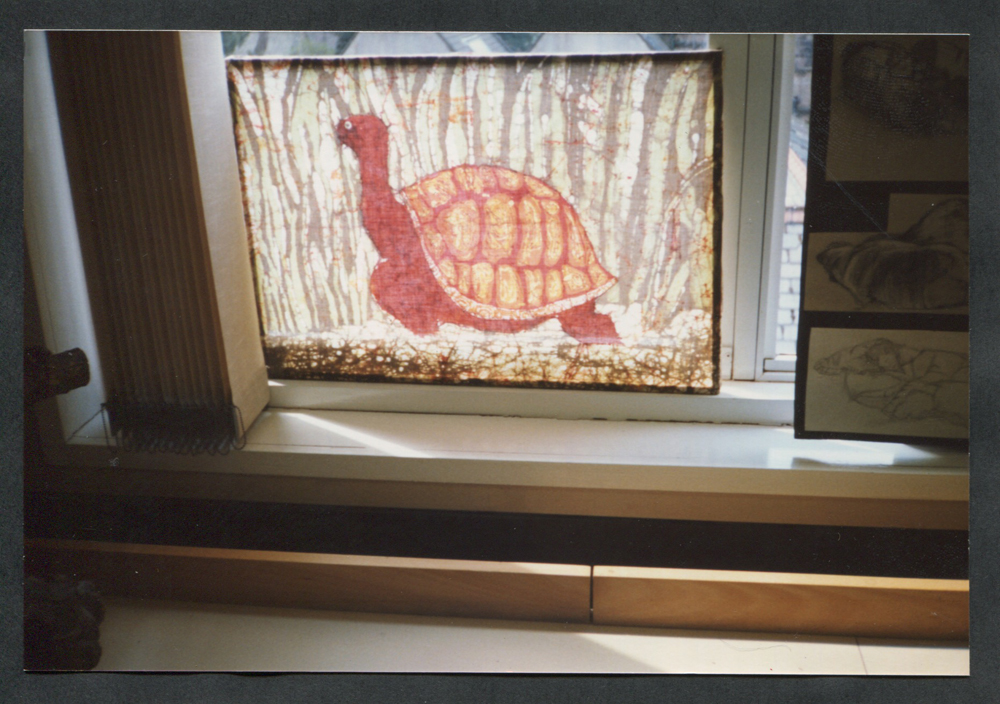
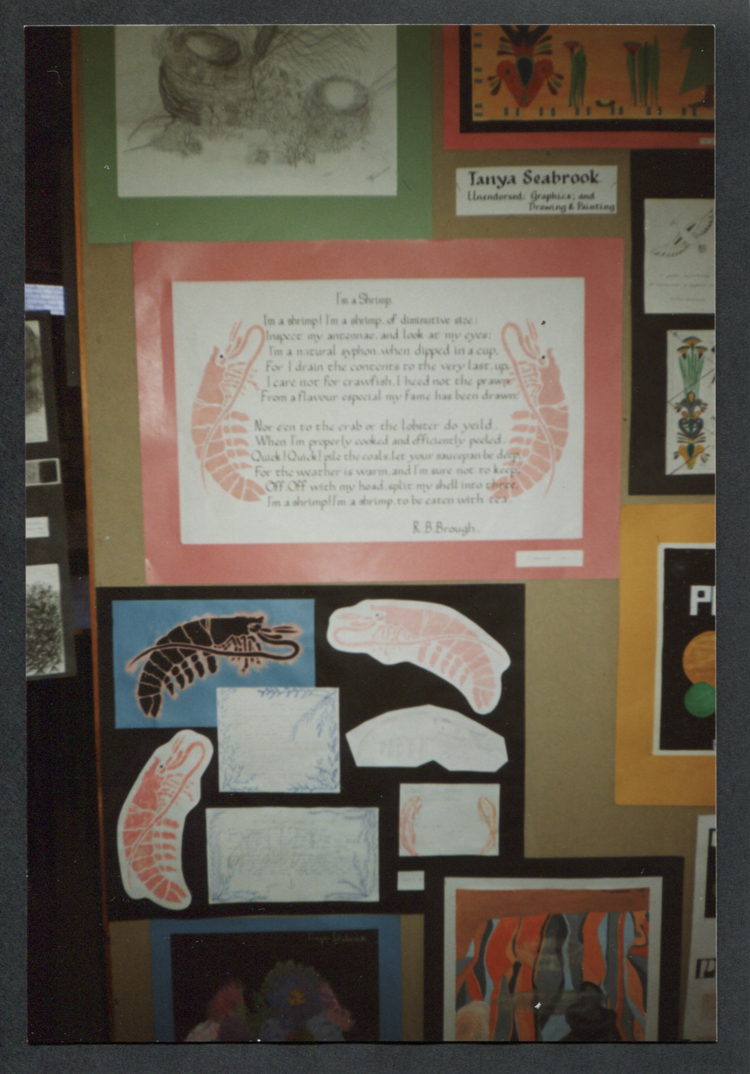
 In March 2017 Audley St Elphin's came across an album of photographs – thanks to Lizzy Atwell-Dickie who collected the album on my behalf. We were absolutely delighted to find that it contained 77 photos of artwork undertaken by pupils in 1988 and 1989 and had been compiled by the, then, art teacher – Miss Helen J Cawood. The album is now in the St Elphin's School display cabinet in Front Hall in St Elphin's House.
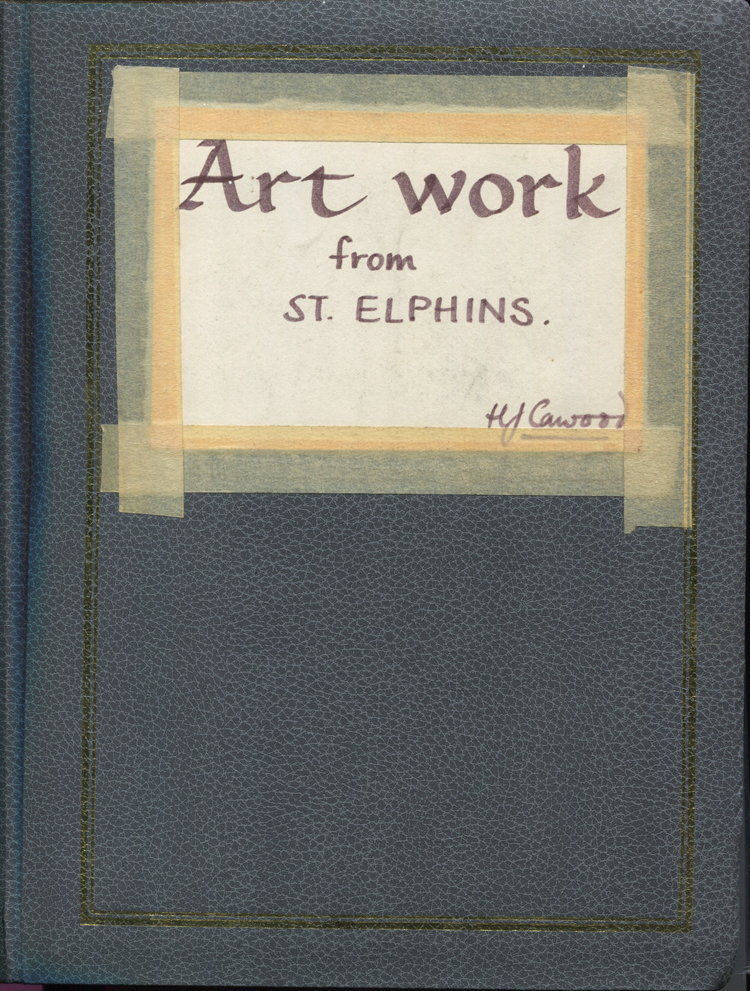


.jpeg)


|